Can You Install Window Bars on Stucco Without Cracking It?
Stucco is the exterior finish of choice for millions of American homes, particularly in the Southwest, California, and Florida — states that also happen to have some of the highest property crime rates in the country. If you've been considering window security bars but own a stucco home, you've probably asked yourself: will drilling into stucco crack it? Will the installation damage my exterior finish? And is there a way to get the security I need without the risk of expensive stucco repair?
The good news is yes — you can install effective window security bars on a stucco home without cracking the finish, and in many cases without drilling at all. This guide explains exactly how, covering both no-drill tension-mount approaches and the proper drilling technique for when anchored installation is necessary.
Understanding why stucco cracks during improper installation — and how to avoid those mistakes — will help you make the right decision for your home's security and aesthetics.
Why Stucco Cracks: The Root Cause
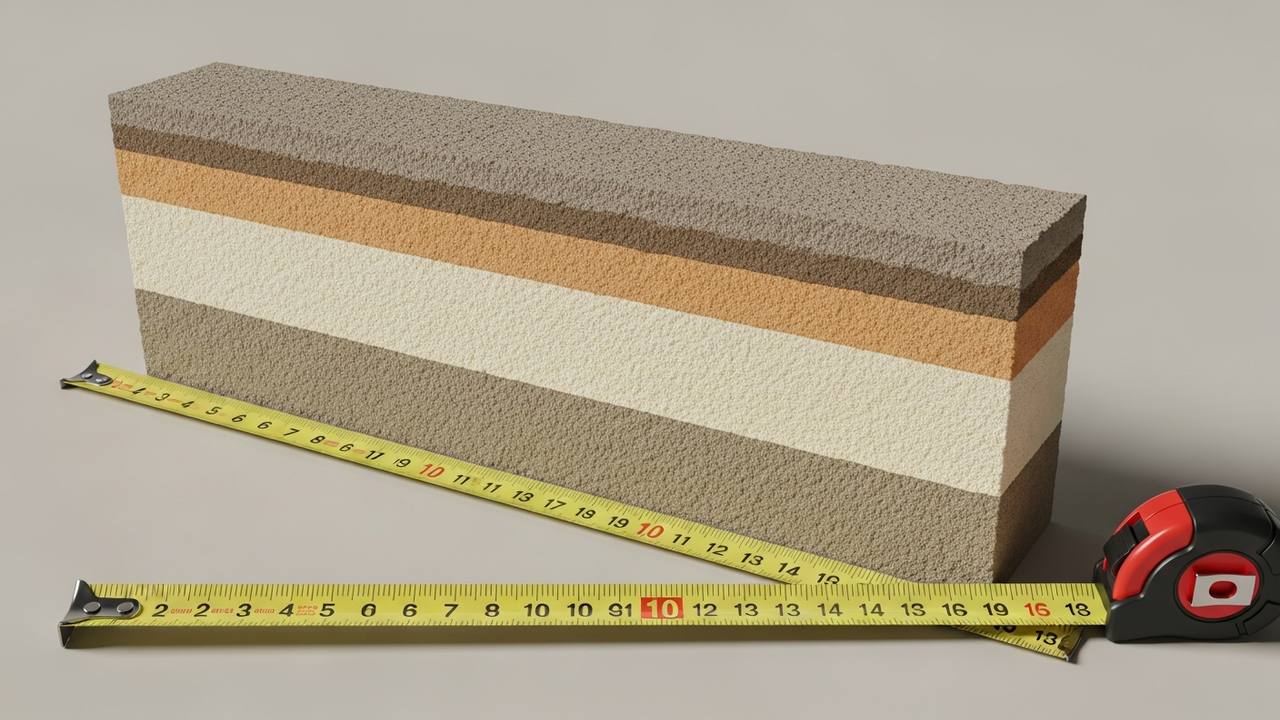
Traditional three-coat stucco is a cement-based plaster applied in layers over metal lath that's attached to the wall framing. Modern one-coat synthetic stucco (EIFS — Exterior Insulation and Finish Systems) uses a foam substrate beneath a thin acrylic finish layer. Both systems are surprisingly brittle when subjected to point-load stress.
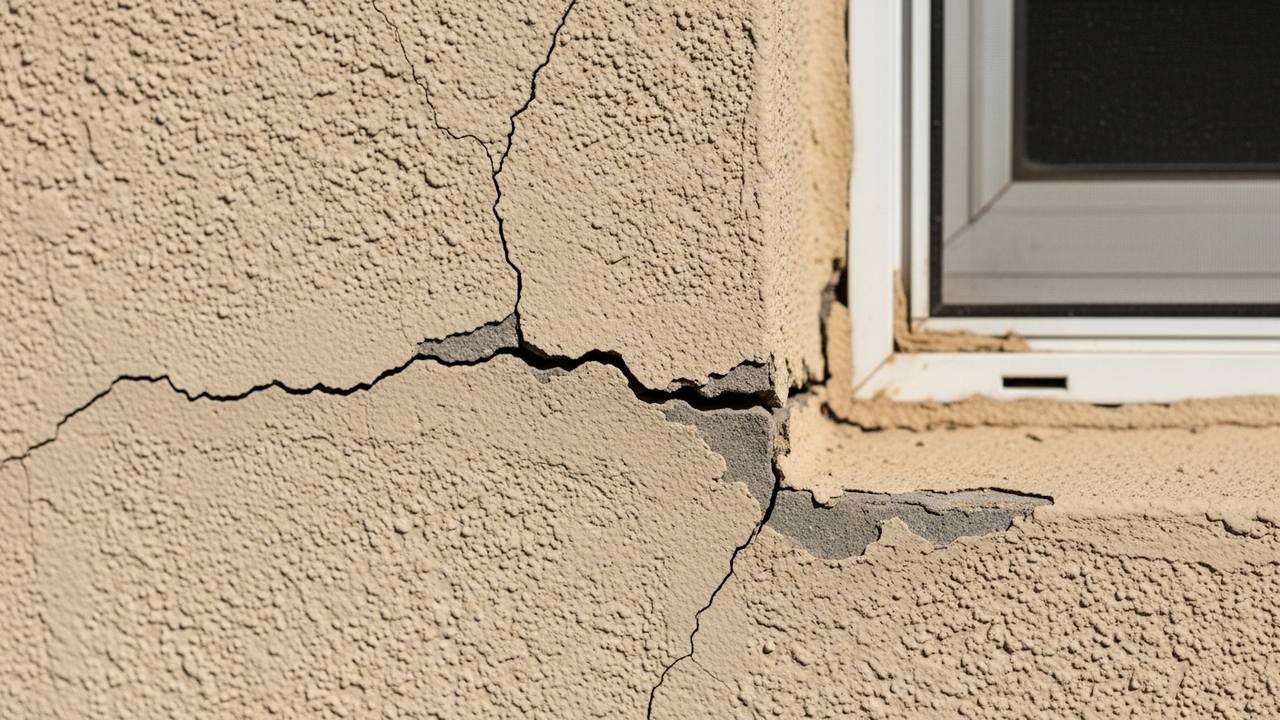
Cracking during installation typically happens for one of three reasons. First, using the wrong drill bit — a standard masonry bit generates heat and vibration that can fracture the surface, especially in older or thin stucco applications. Second, drilling too close to the edge of a window opening, where the stucco is thinnest and most vulnerable to spalling. Third, overtightening fasteners, which compresses the stucco between the anchor and the mounting bracket, eventually causing a radial crack pattern around each fastener point.
The stucco itself is rarely the primary structural material — it's a weather and aesthetics layer. The wood sheathing and framing behind it carry the structural load. This means that when you're installing window bar brackets, you ideally want to anchor into that framing, not rely solely on stucco anchors. But reaching the framing through stucco adds complexity — and if done improperly, creates the crack risk you're trying to avoid.
EIFS synthetic stucco presents additional concerns. Its foam core provides virtually no structural anchoring capacity. Drive a fastener into EIFS and you're anchoring into foam — fine for decorative trim, completely inadequate for security hardware that needs to resist pry-bar force. For EIFS homes, the no-drill tension-mount approach is nearly always the correct choice.
The No-Drill Solution: Tension-Mount Window Bars
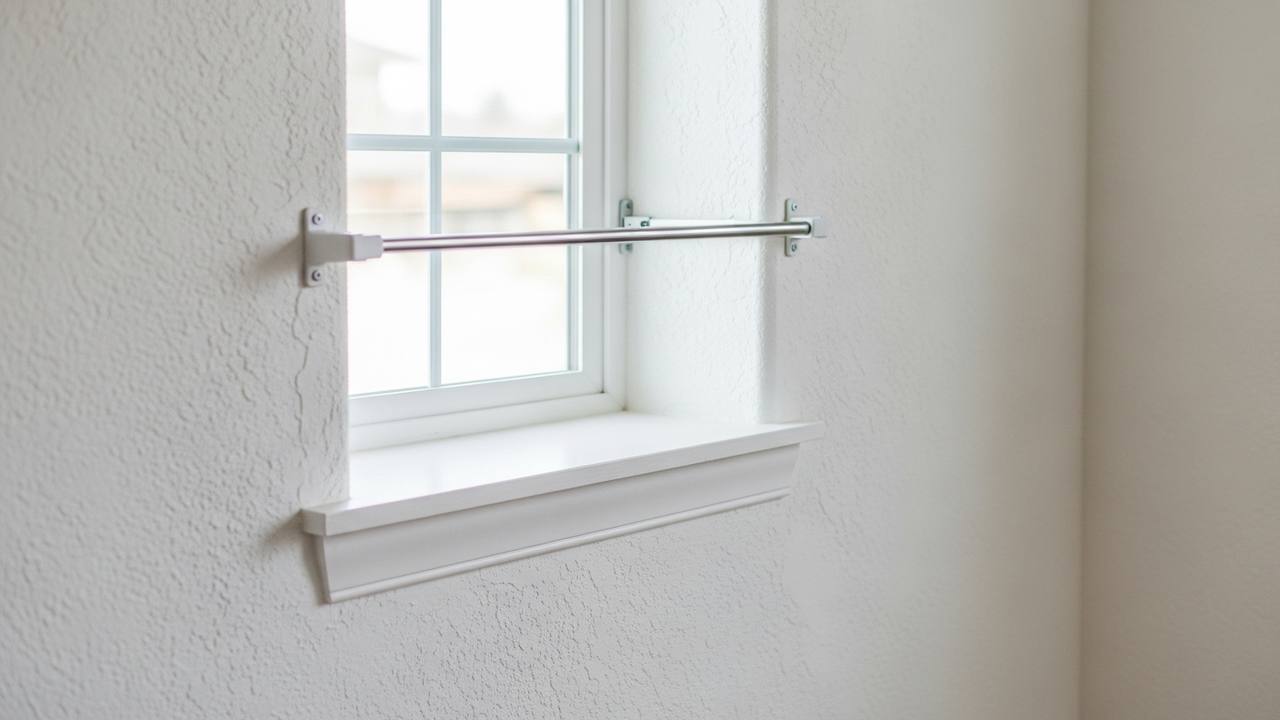
SWB telescopic steel window bars use a tension-expansion mechanism that seats the bar firmly against the interior sides of the window frame — no drilling into stucco, brick, block, or any exterior surface required. The bar expands horizontally to apply pressure against both sides of the window frame, creating a friction fit that resists forced removal from outside.
For the vast majority of standard residential windows — double-hung, single-hung, slider, and casement styles — the window frame itself provides more than adequate bearing surface for a tension-mount bar. The load path runs from the bar through the window frame into the surrounding rough opening framing, which is anchored to the wall studs. The stucco exterior is never involved in the load path at all.
This is the preferred installation method for stucco homes for several reasons beyond just crack prevention. It's completely reversible — remove the bar and there's zero evidence it was ever there. It satisfies HOA requirements that prohibit modifications to exterior finishes. It can be done in 10–15 minutes with no tools beyond a measuring tape. And it's relocatable if you move or rearrange rooms.
The tension-mount approach does have a requirement: the window frame must be structurally sound. Old wood frames that have softened from moisture or rot, severely deteriorated aluminum frames, or vinyl frames that have warped may not provide adequate bearing surface. Inspect your frames before relying on tension fit — a firm push on each side of the frame should produce zero flex.
When Drilling Is Necessary — And How to Do It Without Cracking
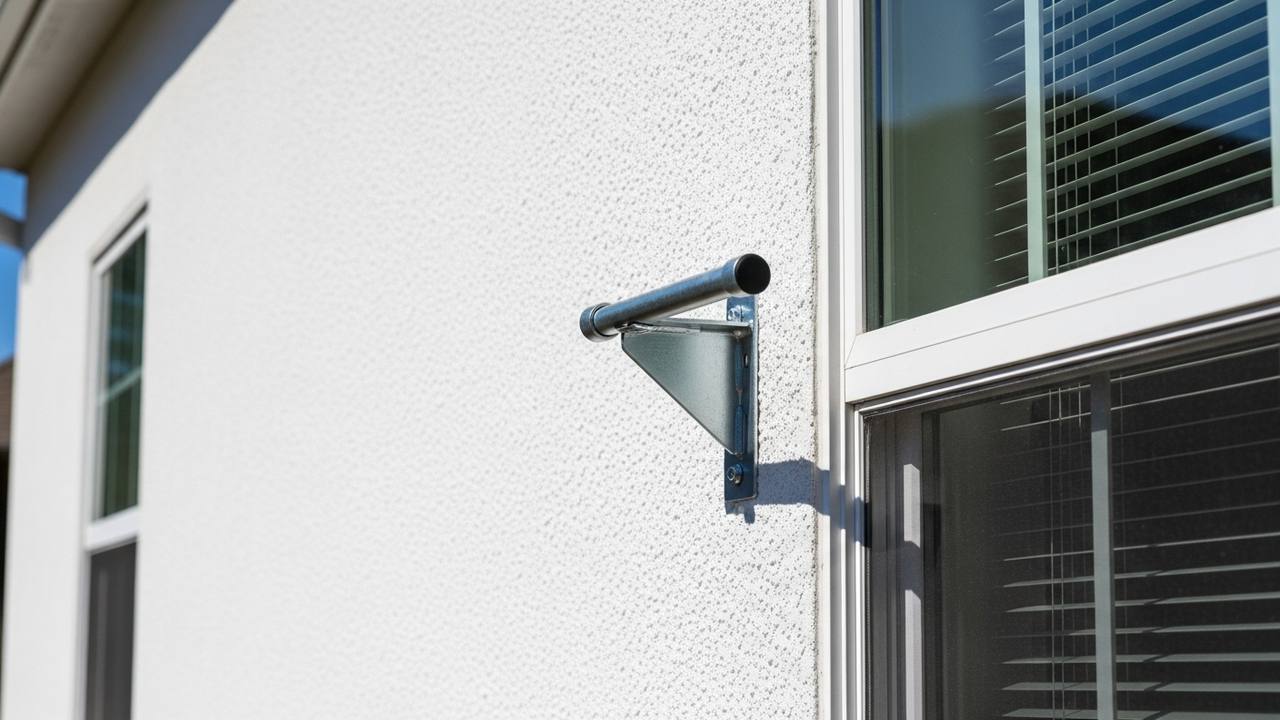
Some window configurations genuinely require anchored installation: extra-wide openings where a tension bar would have too much span, windows with damaged or replacement frames that can't bear the tension load, or situations where you want the highest possible security rating. In these cases, drilling is appropriate — but the technique matters enormously.
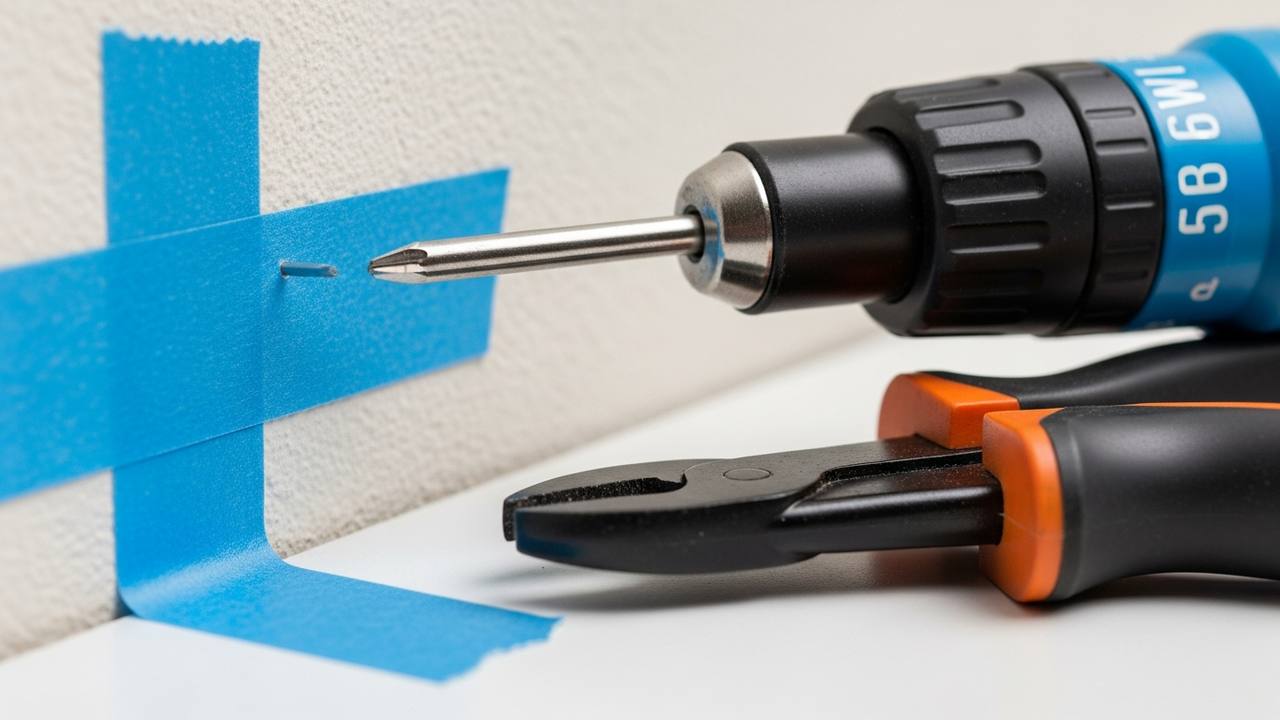
Use a hammer drill in rotation-only mode first. Set your hammer drill to drill-only (no hammer action) and use a carbide-tipped masonry bit. Start at low speed to score the surface before increasing speed. This prevents the initial bite from chipping the stucco surface around the entry point.
Mark your drill points carefully. Locate wall studs behind the stucco using a stud finder rated for use through multiple layers (some stucco homes have 7/8-inch to 1-inch stucco over 1/2-inch sheathing — total of 1.5 inches before you reach the stud). Mark your anchor points to hit the center of studs whenever possible.
Drill at a slow, steady pace. Forcing the drill generates heat and vibration. Let the bit do the work. For a clean entry into traditional stucco, 400–600 RPM with moderate pressure is ideal. For the final pass through sheathing into the stud, you can increase speed.
Use the right anchor. For anchoring directly into studs (the strongest option), 3-inch wood screws with a washer distribute load across the stucco surface without concentrating it. For anchoring into block or CMU behind stucco, use 3/8-inch wedge anchors. Never use plastic expansion anchors for security hardware — they can pull out under pry-bar loads.
Apply sealant before and after. Before inserting any anchor, apply a bead of paintable exterior caulk into the hole to seal out moisture. After installing the bracket, run a bead of matching caulk around the bracket perimeter. This prevents water intrusion that causes stucco to crack and delaminate over time.
Matching Caulk and Paint for Invisible Repairs
Even with perfect drilling technique, you'll have small holes in your stucco that need finishing. For traditional cement stucco, use a pre-mixed stucco patch compound available at any home center. Apply with a putty knife, feather the edges, and allow to cure fully before painting. Color-matching traditional stucco is easier than it looks — most paint stores can mix a close match from a chip sample.
For synthetic EIFS stucco, you must use a compatible EIFS repair compound, not standard cement patch. The foam substrate and acrylic finish require products specifically engineered for that system. Using incompatible products causes adhesion failure and visible discoloration. If your home has EIFS — which you can identify by pressing on the wall surface (EIFS will flex slightly; traditional stucco will be completely rigid) — consult an EIFS-certified contractor for any repair work, or simply use the no-drill tension-mount option.
If you're removing bars you previously installed with anchors, fill the holes with exterior paintable caulk, apply stucco patch, prime with a masonry bonding primer, and paint with elastomeric paint matched to your exterior. The repair is essentially invisible once complete.
HOA Considerations for Stucco Homes
Many homeowners associations in stucco-exterior communities have rules about alterations to exterior finishes. Security bars — particularly visible bars on street-facing windows — may require HOA approval or may be outright prohibited under CC&Rs. Before installing any security hardware, review your HOA documents or submit a modification request.
No-drill tension-mount bars offer an HOA-friendly path in most cases because they create no permanent modification to the exterior. They're installed inside the window frame, invisible from outside if placed behind window glass, and fully removable. If your HOA prohibits visible exterior changes, confirm that interior-mount bars satisfy their requirements — in most cases, they do.
For HOAs that permit exterior bar installation, match the bar finish to your window frame color. Black powder-coated bars against black window frames are nearly invisible at street distance. White or beige bars against matching frames blend naturally into the stucco facade.
FAQ
Will tension-mount bars damage my vinyl or aluminum window frames?
SWB tension-mount bars distribute pressure evenly across the frame surface. On vinyl frames, the contact points may show faint compression marks after long-term installation, but they won't crack or break structurally sound vinyl under normal conditions. If your vinyl frames are already cracked or heavily UV-degraded, replace them before installing any load-bearing window hardware.
How much force can tension-mount bars resist compared to drilled bars?
A properly installed tension-mount bar can resist several hundred pounds of lateral force — more than enough to stop a pry-bar attack on a standard window. Drilled-and-anchored bars into structural studs offer higher ultimate strength, but the practical difference for residential burglary deterrence is minimal. Most burglars abandon an attempt within 60 seconds of encountering resistance.
Can I install bars on jalousie (louvered) windows common in older Florida stucco homes?
Jalousie windows present a unique challenge because the louvered glass sections can be removed from outside without breaking. A standard horizontal security bar won't prevent this. For jalousie windows, a welded bar grille specifically sized for the opening is a better solution, or replacing the jalousie units with more secure window types is worth considering.
Conclusion
Stucco homes can absolutely have window security bars installed safely and without cracking — the key is choosing the right installation method for your window type and structural conditions. For most stucco homes, SWB's no-drill tension-mount bars deliver full security with zero exterior damage in under 15 minutes. When drilling is necessary, following proper technique and using the right anchors produces clean results that last for years. Don't let stucco concerns stand between you and effective home security — explore the full SWB product range and find the bar system that works for your home.