How to Find Studs and Anchor Points for Window Bar Installation
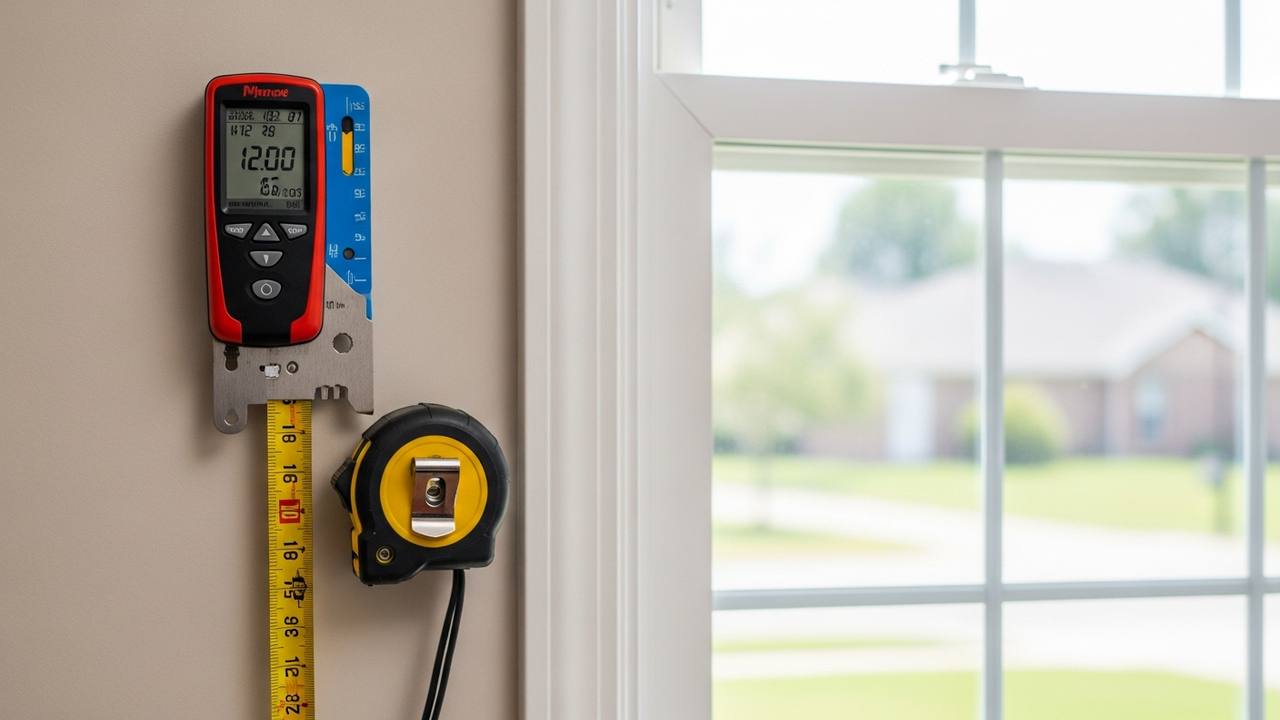
A window security bar is only as strong as its anchor points. You can buy the heaviest-gauge steel bar on the market, but if the brackets are screwed into hollow drywall, a firm kick will pull them out. Finding studs and solid anchor points is the foundational skill for any security hardware installation — and it's less mysterious than most homeowners assume once you understand how houses are framed.
This guide covers every method for locating studs and structural anchor points, from electronic stud finders to the old-school tap test, along with the specific considerations that apply to window bar installation. We'll also cover what to do when studs aren't where you need them — a common situation around window openings where the framing configuration differs from standard 16-on-center layout.
SWB window security bars are designed with installation flexibility in mind. Their tension-mount design eliminates the need to find studs entirely for most installations. But for anchored installations, this knowledge is essential for getting it right the first time.
How Houses Are Framed: The Basics
Understanding what's inside your walls makes stud-finding intuitive rather than guesswork. Standard American wood-frame construction (platform framing) uses vertical studs spaced 16 inches on center, running from the bottom plate to the top plate of each wall. Some walls — particularly older construction and some walls in manufactured homes — use 24-inch on-center spacing. Metal-stud (light-gauge steel framing) construction in newer homes uses the same spacing conventions.
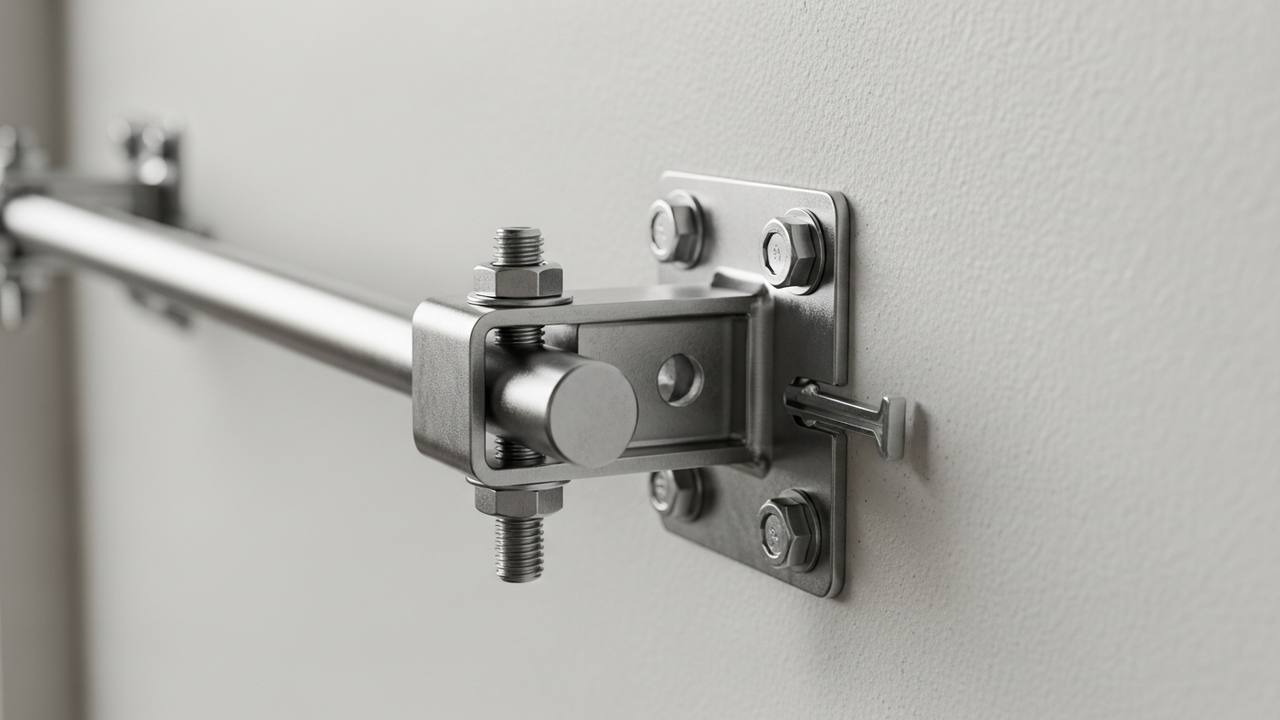
Window openings interrupt the regular stud pattern. When a window is framed into a wall, the regular studs on either side of the opening become "king studs" that run full height. Inside the king studs are "jack studs" (also called trimmer studs) that support the header beam above the window. The header spans the window opening and transfers the load around it. Between the header and the top plate are short "cripple studs" spaced at the regular interval. Below the window rough sill, another set of cripple studs runs down to the bottom plate.
This means that immediately beside a window opening, you'll always find a double-stud assembly (king + jack) on each side — these are the most reliable anchor points for window bar brackets. They're always present regardless of the window's position in the wall, and they're consistently located at the edges of the rough opening.
Electronic Stud Finders: How to Use Them Accurately
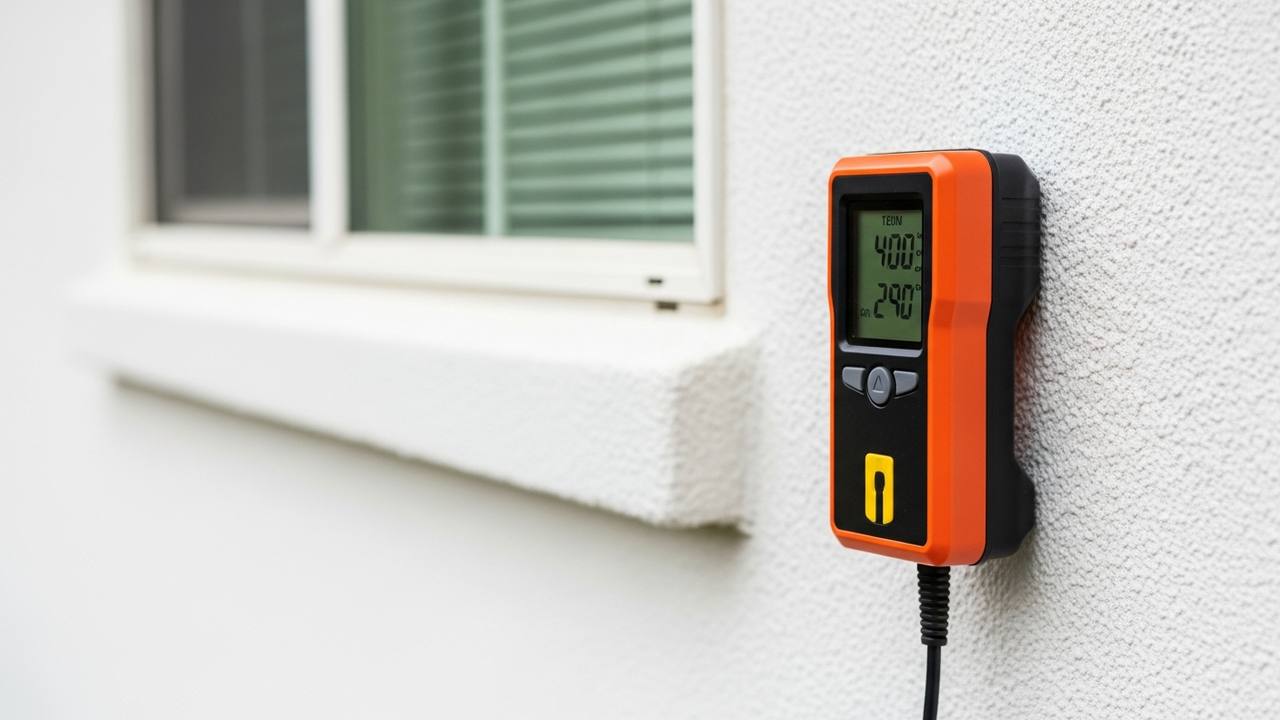
Electronic stud finders detect changes in wall density using capacitive sensing (basic models) or AC magnetic field sensing (advanced models). Used correctly, they're accurate to within 1/4 inch. Used incorrectly, they produce the random false-positive readings that give them a bad reputation.
The most common mistake is moving the stud finder too fast. The sensor needs approximately 0.5–1 second of contact at any given point to register the density change. Slide it slowly — about 1 inch per second — for reliable readings. Also, the stud finder must be calibrated on a section of wall that's definitely between studs (i.e., hollow). Hold it flat against the wall, press the button, wait for the calibration signal (usually a beep or light), then slide toward where you expect the stud.
Mark the edge of the stud on both sides (once while moving left-to-right, once while moving right-to-left), then mark the midpoint between your two marks — that's the center of the stud. For a 2x4 stud (actually 1.5 inches wide), the center mark is where you want to drive your fastener for maximum engagement.
For walls with tile, stucco, or multiple drywall layers, use a deep-scan mode if your finder has one, or upgrade to a magnetic or radar-type stud finder designed for layered walls. The Zircon MultiScanner and StudSensor HD series are well-regarded for challenging wall conditions. For stucco specifically, a neodymium magnet dragged slowly across the surface will stick slightly when it passes over a drywall screw below — these screws are driven into studs during construction and remain detectable.
The Tap Test and Screw Test: No-Tool Methods
The tap test (also called the knock test) uses your knuckles as a crude density sensor. Knock firmly on the wall surface and listen: hollow sections produce a resonant, low thump; solid sections (studs) produce a higher-pitched, dull sound. The difference is subtle but detectable with practice. Start at a corner — the studs are often at or near corners — and work across the wall, listening for the tone shift.
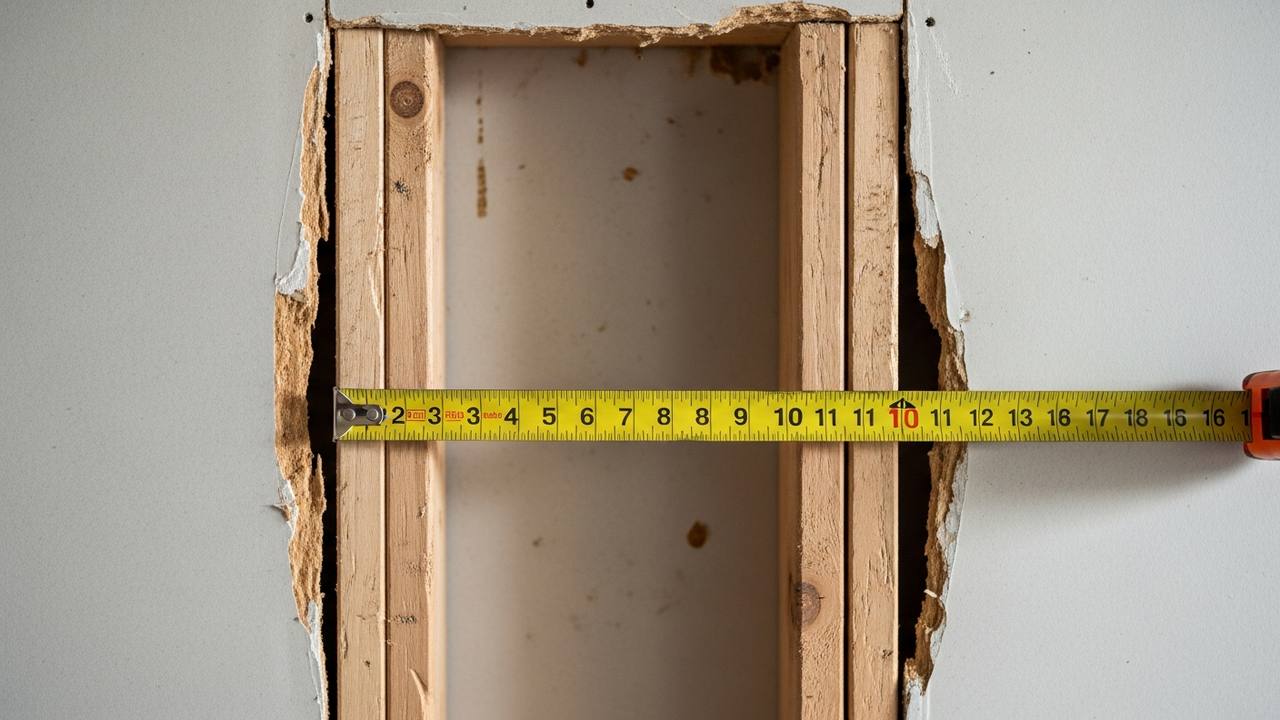
Once you've found a suspected stud location, confirm it with a small nail or a short finish screw. Drive the nail or screw by hand at a slight angle — if it hits solid wood after passing through the drywall, you've found the stud. If it goes through freely with no resistance, you're in the cavity. Patch the test hole with drywall spackle and paint.
The baseplate trick is a useful supplement: the drywall screws used to attach the baseboard trim at the bottom of walls are driven into studs. Locate those screws (often detectable by feel or small paint bumps), and you've got your stud line. Extend that line vertically with a level and you've mapped the stud without touching the installation area at all.
Finding Anchor Points Around Windows Specifically
Window bar installation presents a specific challenge: the bracket mounting points need to be at window height, which puts them in the zone where standard framing layout is disrupted by the window rough opening. Here's how to navigate this systematically.
Inside the window opening (for interior tension-mount bars): The bearing surface is the window frame itself. For wood frames, the structural capacity comes from the rough opening framing — the king and jack studs on each side. The window frame is fastened to this framing; as long as the frame is in good condition, the tension-mount bar is anchored indirectly through the frame into the structural framing.
Beside the window opening (for wall-mount brackets): The king studs are always directly at the edge of the rough opening. Measure the width of the window opening, divide by two, and the king studs are at each edge of that dimension from the window centerline. For a 36-inch window centered on a wall, the king studs are 18 inches from center — one on each side. Drive a test nail at that location at window header height to confirm.
Above the window (for overhead bracket mounting): The header beam above the window is a solid wood structural member — an excellent anchor point. Its depth varies by window width and local code (commonly 2x6, 2x8, or 2x10 lumber for residential windows). Drive fasteners into the header rather than the short cripple studs above it for maximum holding strength.
If the standard framing layout puts your bracket location over a stud cavity rather than a stud — a common situation when the bracket spacing of a given bar doesn't align with 16-inch stud spacing — use one of these solutions: adjust the bar's horizontal position slightly until brackets align with studs; use a steel backing plate that spans two studs to distribute the load; or use toggle bolts rated for the load (these anchor in the drywall cavity but require specific weight ratings — use only snap toggles or structural toggle bolts rated at 100+ lbs each for security hardware).
Anchor Point Ratings: What You Need for Security Hardware
Not all anchoring solutions are equal, and the distinction matters for security applications where the anchor must resist determined prying force. Here's a practical hierarchy:
Stud fasteners (3-inch structural screws into 2x4 stud): Shear strength approximately 100–150 lbs per fastener. For a two-bracket installation with two fasteners per bracket, total shear capacity is 400–600 lbs — more than adequate to resist residential break-in attempts.
Structural toggle bolts (into 1/2-inch drywall cavity): TOGGLER brand snap toggles in 1/4-20 configuration are rated at 238 lbs shear in 1/2-inch drywall. Two per bracket gives 476 lbs per bracket — acceptable for security applications when stud alignment isn't possible, provided you use structural-rated toggles (not plastic wing toggles, which are rated for light decorating loads only).
Masonry anchors (into block or concrete): 3/8-inch sleeve anchors in solid concrete have shear ratings of 1,800–2,500 lbs each. This is overkill for security bars — one properly installed sleeve anchor per bracket is structural overkill, but there's no downside to over-anchoring security hardware.
Never use plastic expansion anchors, screw-in drywall anchors, or adhesive anchors for security hardware. Their ratings don't apply to dynamic impact loads (kick or pry), and they can pull out catastrophically under sudden high force.
FAQ
My stud finder keeps giving inconsistent readings — what am I doing wrong?
The most common causes are: moving too fast, calibrating over a stud by mistake (always recalibrate against a definitely-hollow section first), walls with unusual construction (double drywall, paneling over drywall, plaster-over-metal-lath), or low battery. Replace the battery first — capacitive stud finders are sensitive to voltage. For plaster walls, use a magnet to find the metal lath nails that indicate stud locations.
Can I install window bar brackets into MDF or particle board window surrounds?
No. MDF and particle board have very low fastener withdrawal strength — screws pull out easily under load. If your window surrounds are MDF or particle board, use a tension-mount bar instead, which bears against the full width of the frame rather than pulling on individual fastener points.
How deep do my anchors need to penetrate the stud?
A minimum of 1.5 inches into the stud body (not counting the wall surface layers). For a standard 2x4 stud, the total stud depth is 1.5 inches — you want full penetration but not through the back face. For most exterior walls with sheathing and exterior finish, a 3-inch fastener achieves the right penetration depth.
Conclusion
Locating solid anchor points is the difference between window bars that hold under attack and bars that fail when tested. The framing around every window opening in your home contains reliable stud-density anchor points — king studs at each side of the opening, a structural header above. Understanding where they are and how to find them takes the guesswork out of security hardware installation. And if you'd rather skip the stud-finding exercise entirely, SWB's tension-mount bars install in under 15 minutes with zero anchor drilling — no studs required. Browse the full SWB catalog to find your fit.