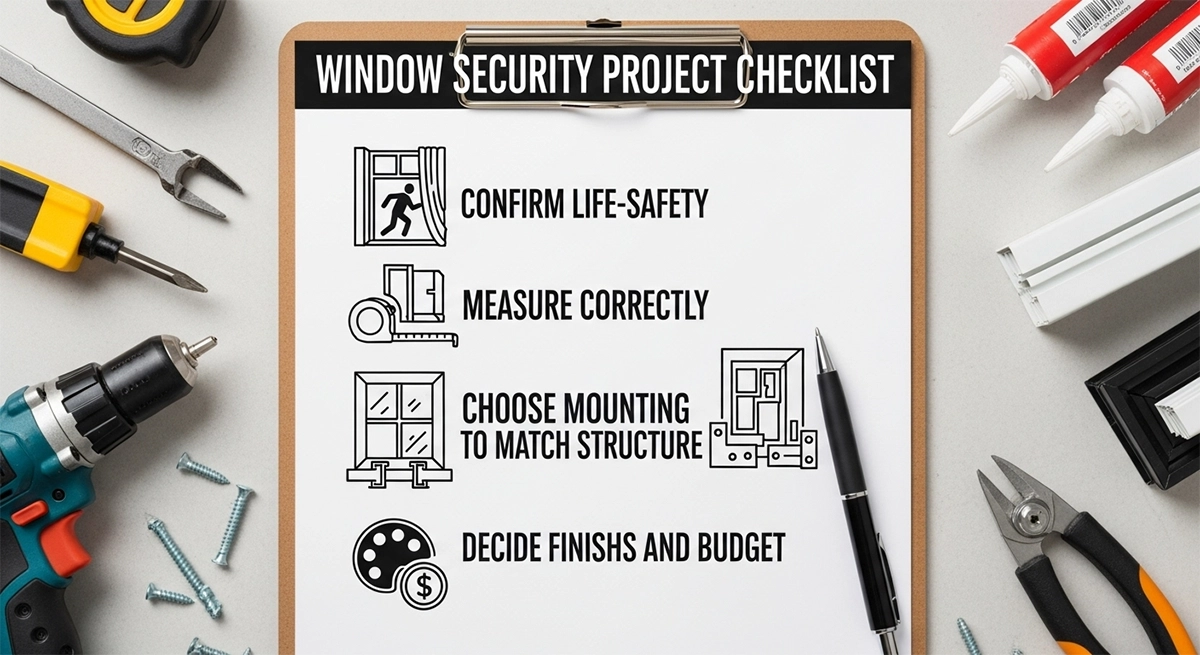
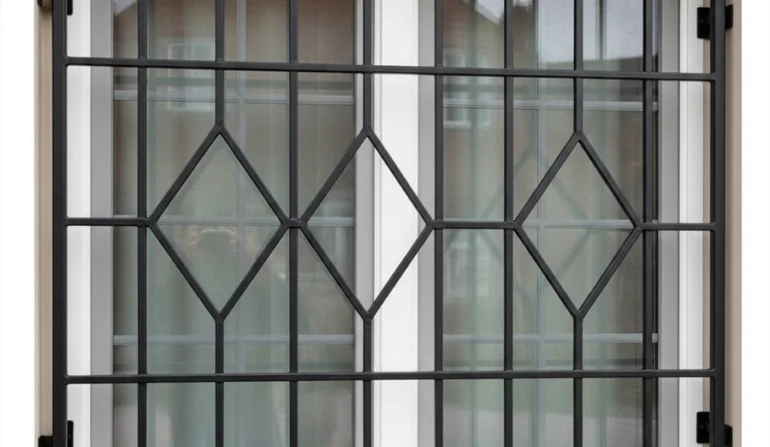
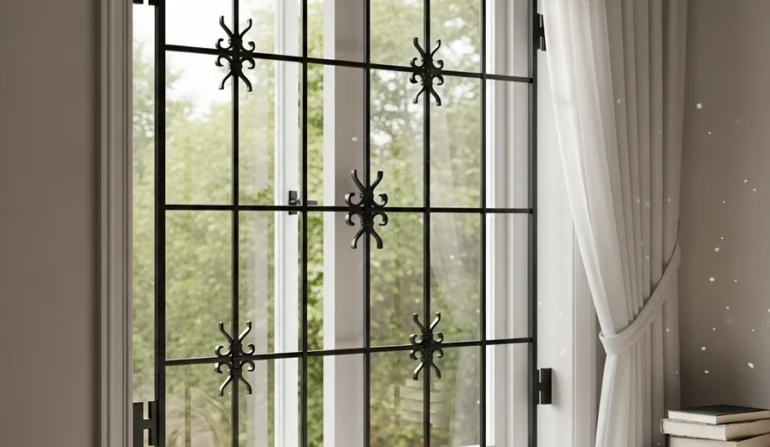
BLOG

security window bars
The Ultimate Window Bars Pre-Purchase Checklist

Protect Your Family in 2025 | Ultimate Window Bars Buying Checklist

Shopping for window bars shouldn’t feel like guesswork. The right system should match your openings without custom ironwork, protect the spaces you care about, and remain easy to use in an emergency. This guide distills everything you should confirm before you buy—egress and safety, measurements, mounting choices, climate durability, aesthetics, installation planning, alternatives, and cost/ROI—and then gives you a 50-point printable checklist you can run through in under fifteen minutes. We’ll reference SWB’s approach (telescopic height + modular width, frame or wall mount, optional quick-release), but these principles apply to any serious buyer doing pre-purchase due diligence.

Why this checklist saves time (and money)

Why this checklist saves time

Window security projects go sideways for just three reasons: poor measurements, the wrong mounting strategy, or ignoring egress. This checklist forces the right sequence: confirm life-safety, measure correctly, choose mounting to match structure, then decide finishes and budget. The result: fewer returns, cleaner installs, and predictable costs.

Safety & code first: do you need a quick-release?

  • Is the window a required emergency exit? Bedrooms and many basements are. If yes, plan on a quick-release model that can be opened from the inside—no tools, no keys.
  • Keep the release accessible. Don’t block it with furniture, blinds, or security film.
  • Plan the swing path. Hinged assemblies need clearance to open fully.
  • Test after install. Operate the release, open the sash, and re-latch. Re-test monthly.
  • Local rules vary. Always verify locally; a simple phone call to your authority having jurisdiction (AHJ) prevents headaches later.

Measuring like a pro (use the smallest numbers)

  • Width (W): Measure inside the opening top, middle, and bottom; use the smallest.
  • Height (H): Measure on the left and right; use the smallest.
  • Obstructions: Note crank handles, latches, sensors, blinds, trim, and sill slope.
  • Location: Decide interior or exterior placement now—this affects standoff and hardware.
  • Photos: Take a front shot, a 45° angle, and a substrate close-up (wood jamb, brick, block, or drywall over studs).

Mounting strategy: frame vs wall (and why it matters)

  • Frame-mount (tight, minimal standoff): Great when jambs are plumb and solid.
  • Wall-mount (for structure and straightness): Ideal for brick/block and out-of-square frames or long spans like sliders.
  • Interior vs exterior: Interior simplifies quick-release access; exterior increases street-side deterrence and may align better with masonry.

Climate & durability: match your environment

  • Coastal (salt air): Rinse and inspect more often; touch up chips immediately.
  • Freeze–thaw regions: Seal chips before winter; check anchors in spring/fall.
  • High UV/industrial grime: Gentle wash quarterly; avoid harsh solvents; re-torque fasteners seasonally on exterior mounts.
  • Basements: Watch condensation; confirm ventilation and quick-release access.

Aesthetics & visibility: getting to “yes”

  • Sightlines: Align modules with mullions for a tidy look.
  • Color/finish: Choose a finish that matches trim or frame; darker finishes reduce visual impact.
  • HOA/landlord approvals: Prepare a simple packet: measurements, color chip, interior vs exterior plan, and a one-page egress note if applicable.
  • Interior comfort: Plan clearances around blinds and crank handles; add bumpers if needed.

Installation planning: DIY or pro?

  • DIY-friendly signs: Clear instructions, included hardware for frame and wall-mount, and a predictable module system for width.
  • Substrate knowledge: Wood framing uses structural screws; masonry uses anchors with proper embed depth; hollow block may require rated toggles or through-bolts.
  • Tools: Tape measure, level, drill/driver, hammer drill for masonry, correct bits, PPE.
  • Quality control: Dry-fit, mark holes level/plumb, center the telescopic mechanism in its range, then torque to spec.
  • Quick-release installs: Choose hinge side early; perform a swing test immediately.

Alternatives (and when they make sense)

  • Clear polycarbonate bars: Minimal visual impact, higher cost, specific cleaning needs.
  • Stainless security screens: Great airflow and discreet look, typically custom and dealer-installed.
  • Fixed vs quick-release: Fixed bars are not for egress windows; quick-release solves that scenario at a complexity and cost premium.
    If aesthetics or airflow are your top priority and budget allows, screens or clear bars are strong options. For cost-to-security and DIY speed, metal bars win—especially modular systems.

Budgeting & ROI (practical math)

  • Scope creep: Measure all target openings first; batch orders reduce shipping and ensure consistent look.
  • Direct vs marketplace: Buying direct often saves fees and helps with same-day sizing confirmation.
  • ROI lens: Compare the one-time cost of bars vs the direct/indirect costs of a break-in (damage, downtime, deductibles). Visible deterrence plus better locks and lighting stack the odds in your favor.

Common mistakes that cause returns

  • Using largest measurements instead of the smallest.
  • Ignoring egress and buying fixed bars for a bedroom.
  • Anchoring into stucco/drywall only (no structural embed).
  • Over-extending the telescopic range instead of adding a module for width.
  • Forgetting to plan the swing path on quick-release models.
  • Not re-torquing exterior fasteners after the first week and quarterly.

The 50-point pre-purchase checklist (print this)

Egress & safety

1) Is the window an emergency exit?

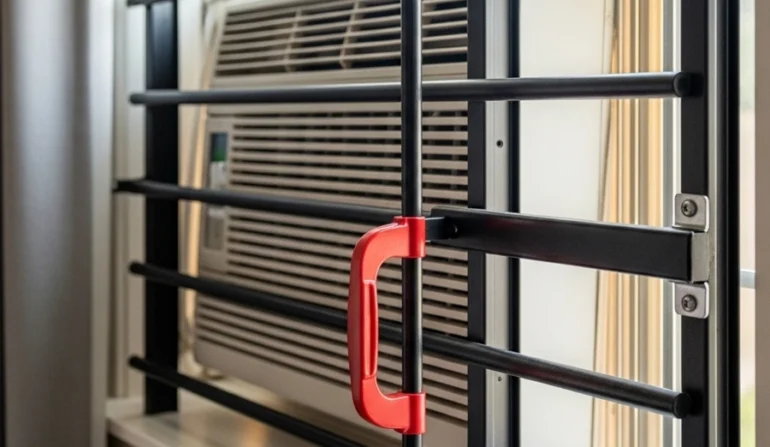
2) If yes, quick-release selected?

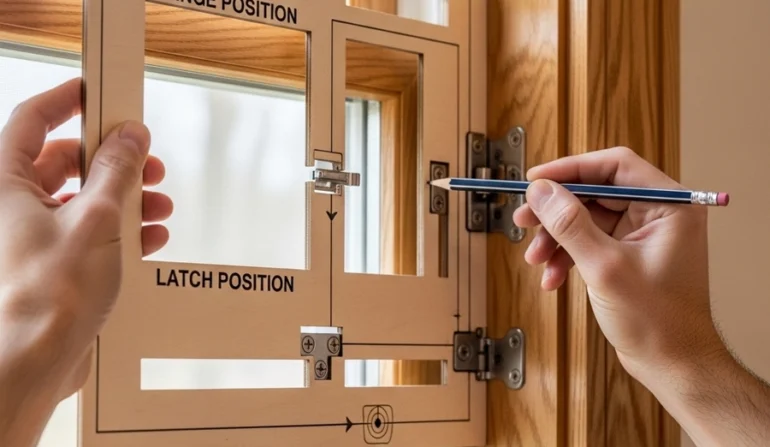
3) Hinge side chosen?

4) Swing path clear (no blinds/furniture)?

5) Household/tenants informed about release?

6) Post-install test scheduled?

Measurements
7) Width top/middle/bottom measured?
8) Smallest width recorded?
9) Height left/right measured?
10) Smallest height recorded?
11) Sill/head conditions noted?
12) Obstructions documented (handles, sensors)?
13) Photos captured (front/angle/substrate)?

Location & mount
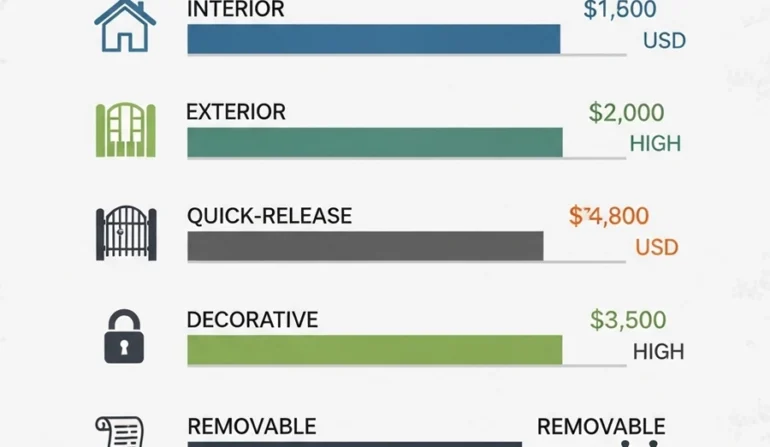
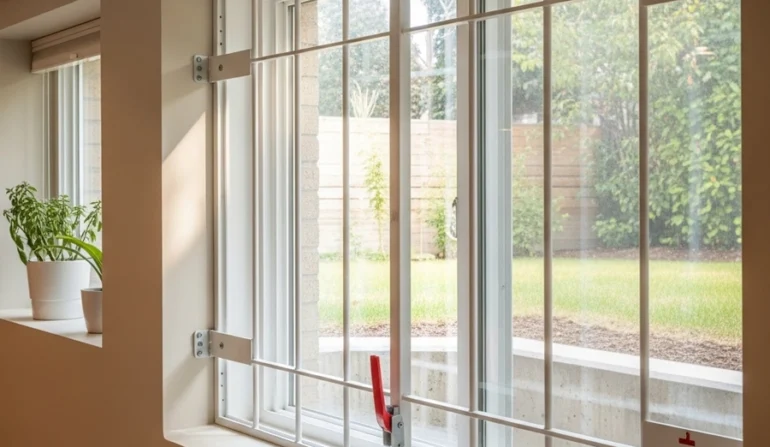
14) Interior or exterior decided?
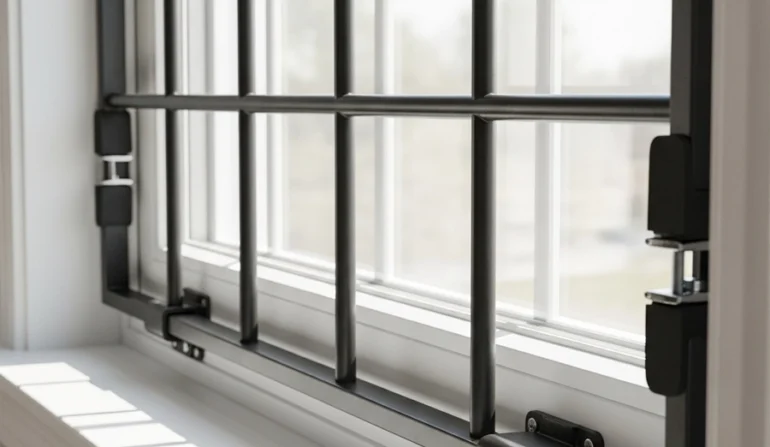
15) Frame vs wall-mount chosen?
16) Substrate identified (wood/brick/block/studs)?
17) For masonry: anchor type and embed depth planned?
18) For studs: stud locations mapped?
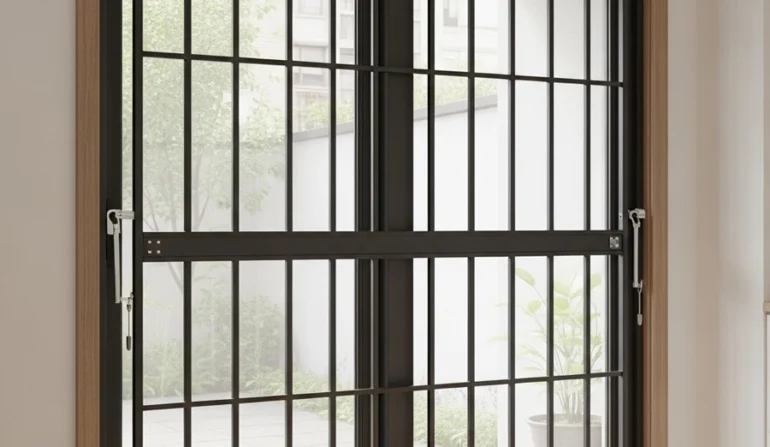
Module plan
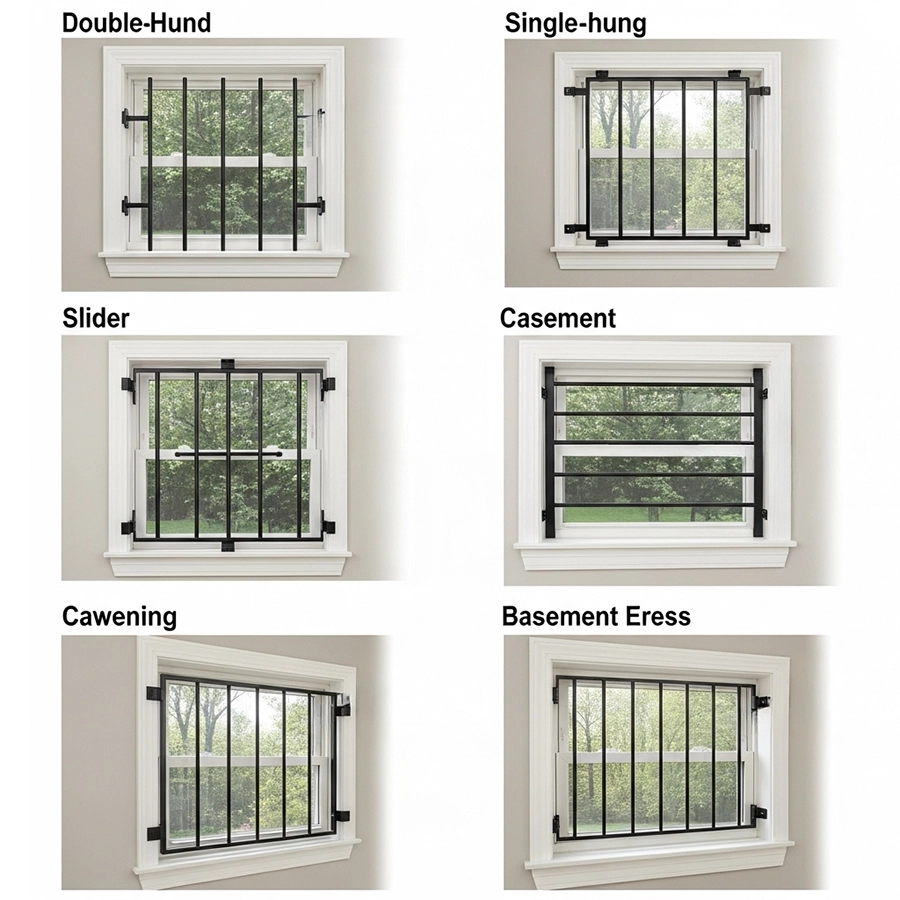
19) Core module selected?
20) Module count for width planned?
21) If > ~79 width, two-assembly plan defined?
22) Symmetry/centering plan noted?

Climate & durability
23) Coastal? If yes, maintenance cadence set?
24) Freeze–thaw? Touch-up plan set?
25) UV/industrial? Quarterly cleaning plan set?
26) Exterior installs: stand-off & drainage checked?

Aesthetics & approvals
27) Color/finish chosen?
28) Mullion alignment considered?
29) HOA/landlord packet prepared?
30) Interior blinds/trim clearances confirmed?

DIY vs pro
31) Tools list verified (including hammer drill if masonry)?
32) PPE ready?
33) Dry-fit plan?
34) Torque specs reviewed?
35) Second person available for long spans?

Install logistics
36) Work area protection (drop cloths, tape)?
37) Marking tools/level ready?
38) Power access?
39) Ladder/step stool if needed?

Quality control
40) Pilot holes to spec?
41) Dust/vacuum for masonry anchors?
42) Telescopic mechanism centered?
43) Module joints tight and level?
44) Tamper covers installed?

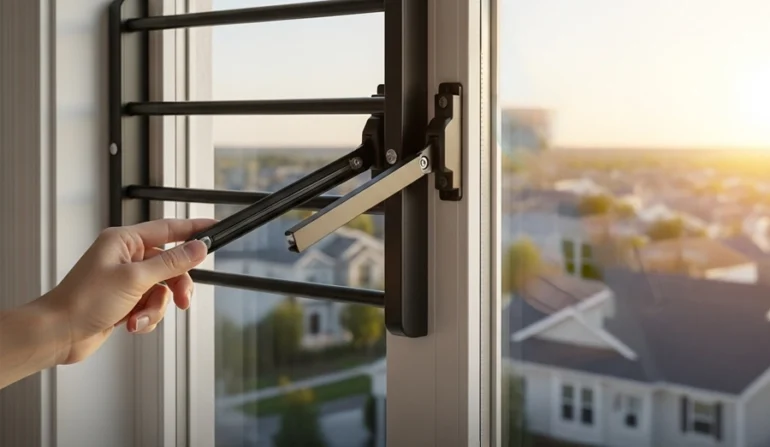
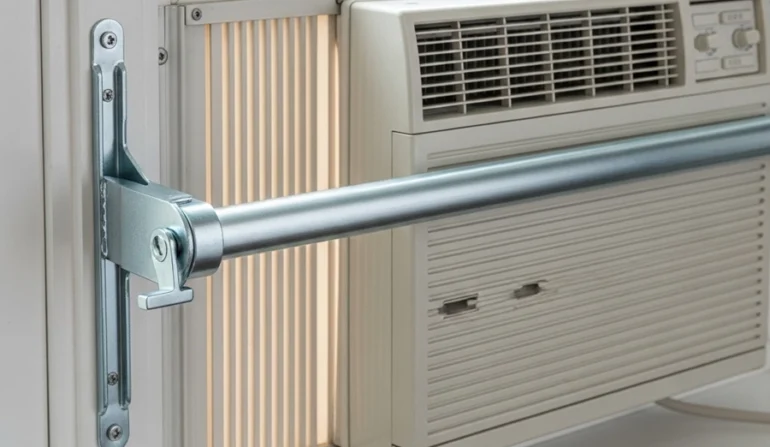
Quick-release specific
45) Release operates freely?
46) Sash opens fully after release?
47) Re-latch holds securely?
48) Instruction sticker near release applied?
49) Household/tenants trained?
50) Monthly reminder set for re-tests?

FAQs

Do I need window bars on every ground-floor window?


Prioritize concealed or easily accessible openings: alleys, basements, ground-floor windows behind landscaping, and wide sliders.

Will bars hurt my home’s curb appeal?


Smart color choices, interior placement, and alignment with mullions go a long way. For a minimal look, consider clear bars or security screens.

Can I move bars to a new property?


Modular systems are more adaptable. Keep your install screws/anchors organized; new substrates may require different anchors.

Next steps

  • If any checklist item is unclear, take photos and write down your width × height numbers.
  • Decide frame vs wall-mount and interior vs exterior.
  • If egress applies, select a quick-release model and plan the swing test.
  • Standardize on one system for consistent looks and faster installs across multiple openings.

EMAIL ADDRESS: sales@securitywb.com
SITE: www.securitywb.com
PHONE:
CDMX: +52 (55) 5272 3355  USA: +1 (650) 4371 575

Recent Post

COOKIES POLICY

Security Window Bars LLC ("SWB") uses cookies and similar technologies to improve your browsing experience and enhance the functionality of our website www.securitywb.com (the “Website”). This Cookies Policy explains what cookies are, how we use them, and how you can manage your cookie preferences.

By using our Website, you agree to our use of cookies as described in this policy.

Last Updated: 01/01/25