
Getting security window bars to fit perfectly isn’t luck—it’s method. The right window bar sizes depend on mount type (interior vs exterior), recess or surface mounting, hinge side and swing, the substrate you’ll anchor into, and small—but crucial—tolerances that keep the bar from binding. In this guide, you’ll learn a step-by-step measuring process, how to plan reveals so bars look designed (not improvised), how to size quick-release handles for kids and seniors, and how to handle tricky situations like window wells and AC units. Print the worksheets below, grab a tape measure, and let’s get it right the first time.
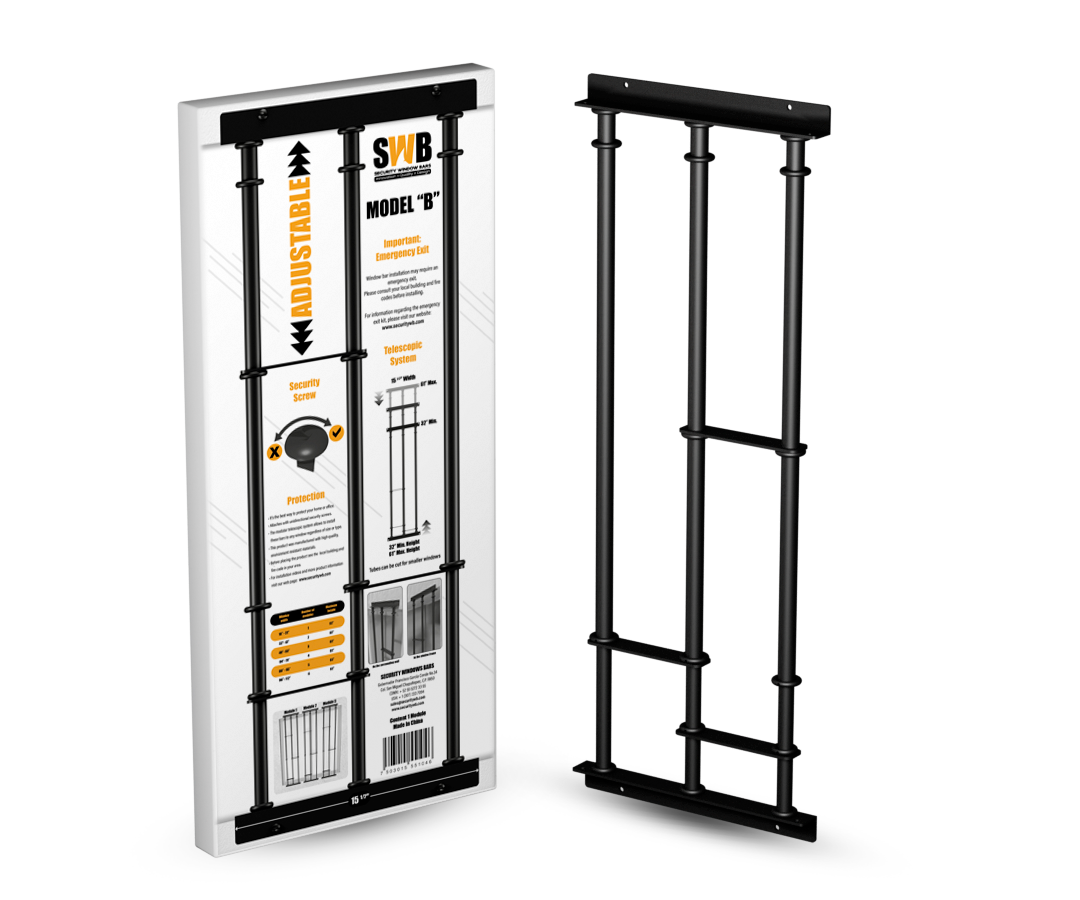
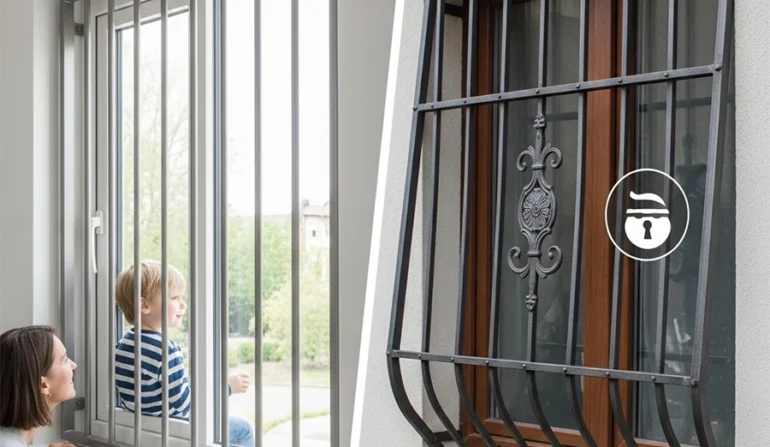
Interior window security bars
Exterior window security bars
Rule of thumb: For bedrooms and finished basements, interior quick-release simplifies measuring and daily use. For utility windows on masonry, exterior surface-mount can be efficient—just capture the face dimensions and desired standoff depth.
Tools: tape measure (1/16″ resolution), small level, pencil, notepad/worksheet, flashlight.
Step A — Width (3 points)
Measure inside-to-inside at top, middle, and bottom. Record all three and keep the smallest.
Step B — Height (3 points)
Measure left, center, and right. Record all three and keep the smallest.
Step C — Diagonals (2 measurements)
Measure from top-left to bottom-right, then top-right to bottom-left. The difference reveals how “out-of-square” the opening is.
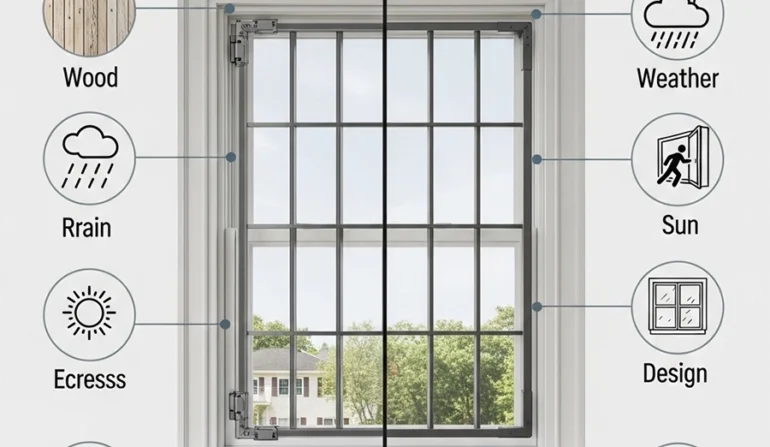
Step D — Depth & Obstacles
Record jamb depth and any items that could interfere: cranks, locks, shade rails, sensors, screens, AC brackets, or well covers.
Step E — Hinge & Swing
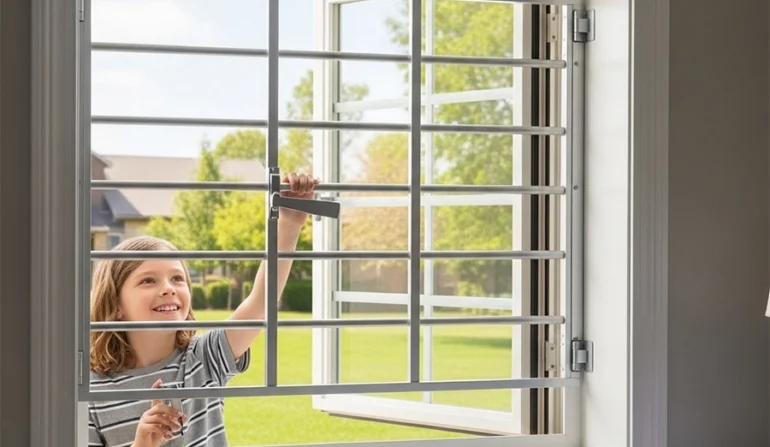
Pick the hinge side that keeps the swing path clean. For bedrooms, ensure children can reach the handle without climbing.
Keep the smallest numbers for width/height. You’ll subtract tolerances (below) so the bar fits in real life—not in an ideal sketch.
Use the table below as a starting point for recess-mount interior bars. Exterior/masonry projects often use slightly larger allowances.
| Opening Width / Height | Suggested Minus Tolerance (each dimension) | Target Visual Reveal (each side) |
|---|---|---|
≤ 24 in (≤ 610 mm) |
−1/8 in (3 mm) |
1/8–3/16 in (3–5 mm) |
24–36 in (610–914 mm) |
−3/16 in (5 mm) |
3/16 in (5 mm) |
36–48 in (914–1219 mm) |
−1/4 in (6 mm) |
1/4 in (6 mm) |
> 48 in (> 1219 mm) |
−5/16 in (8 mm) |
1/4–5/16 in (6–8 mm) |
Why it matters: Buildings move, seasons change, frames are rarely perfect. These small subtractions prevent binding on hinges and latch pins and allow a clean, consistent reveal.
Temperature tip: In hot climates, slightly increase tolerance on dark finishes exposed to sun, especially for exterior bars.
Double-Hung / Single-Hung
Slider (Horizontal)
Casement
Awning / Hopper (Basement)
When bars swing into a window well, check three numbers:
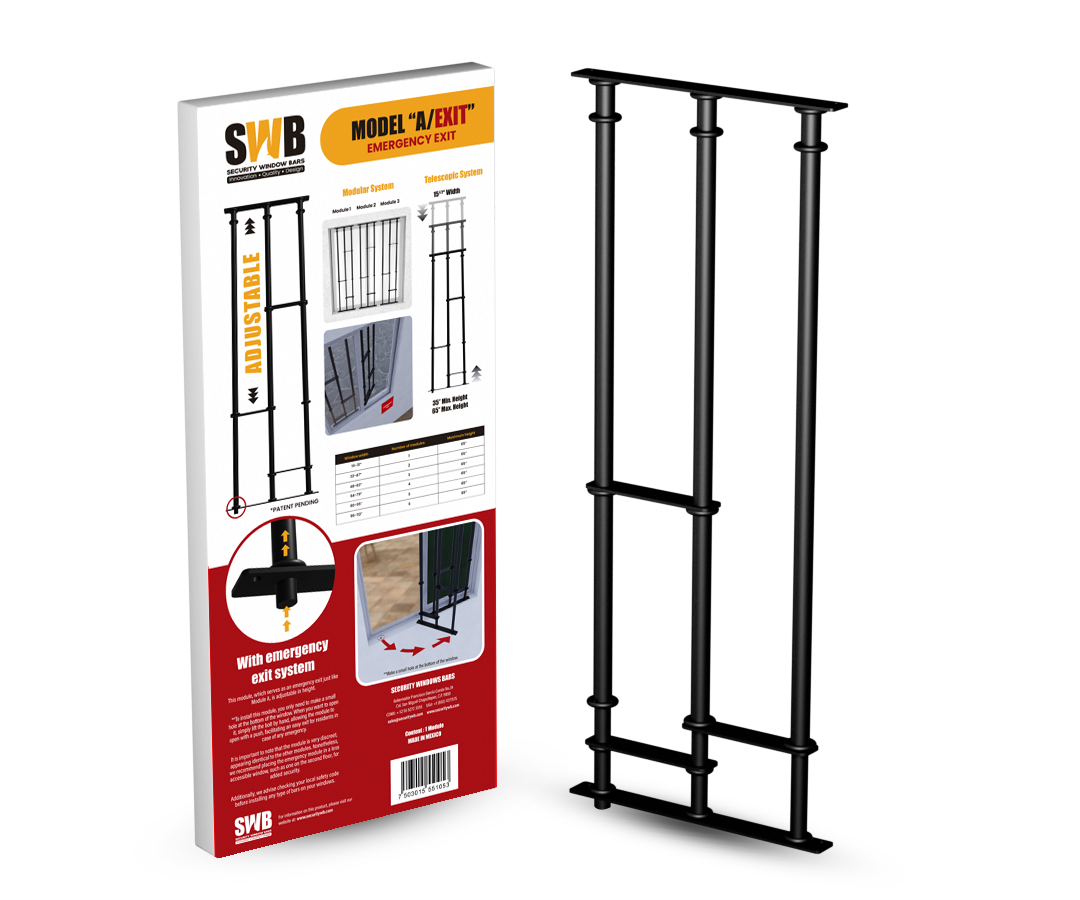
Pro tip: If space is tight, mount interior quick-release window bars with an in-swing path into the room, or select a lift-to-open handle that needs less throw.
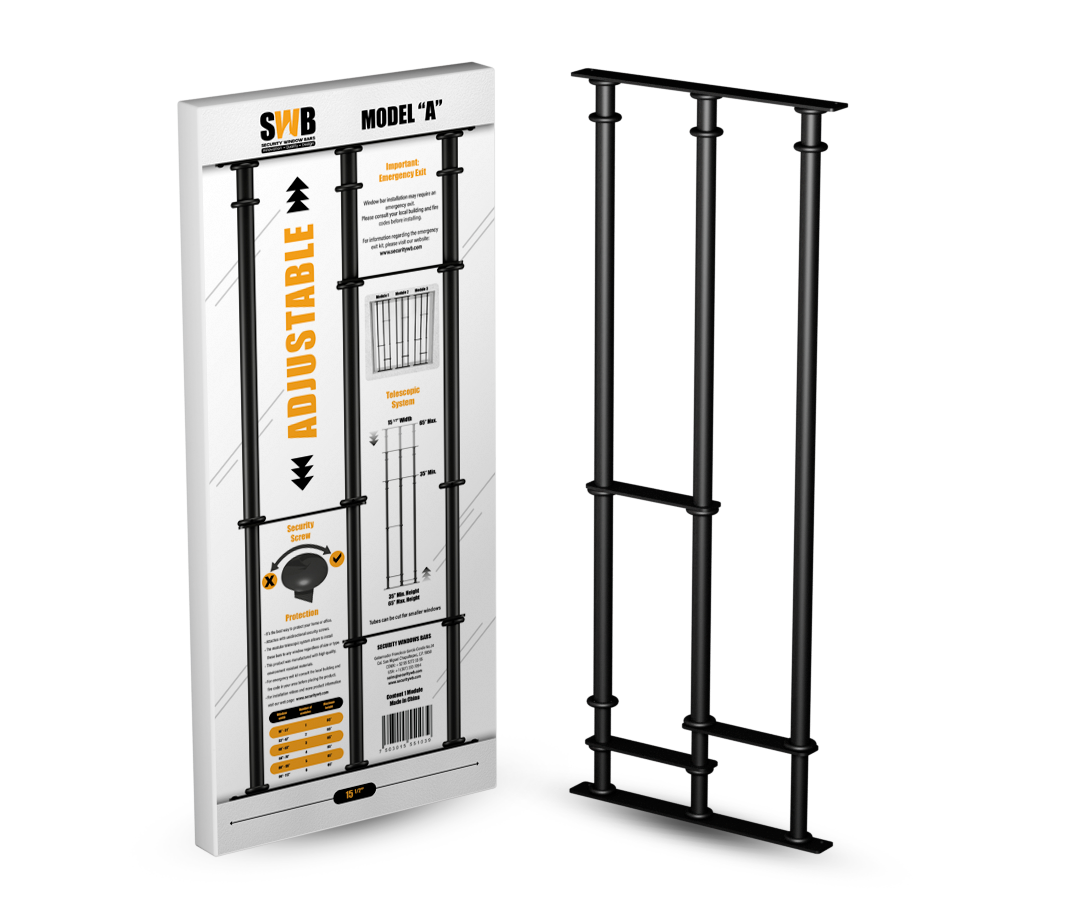
Adjustable interior bars
Custom-sized bars
Hybrid approach: adjustable now for renters; custom later when you own the home and want decorative or exterior symmetry.
Write these on your worksheet so quotes include the right hardware from the start.
A) Window Bars Measuring Worksheet
Property: ___________________________ Date: ______________ Measured by: __________________
Room/Window ID: ______________________ Egress? Yes ☐ No ☐ Mount: Interior ☐ Exterior ☐
Recess ☐ Surface ☐ Hinge side: L ☐ R ☐ Swing: In ☐ Out ☐
WIDTH (inside-to-inside)
Top: ________ in Middle: ________ in Bottom: ________ in Smallest: ________ in
HEIGHT (inside-to-inside)
Left: ________ in Center: ________ in Right: ________ in Smallest: ________ in
DIAGONALS
TL → BR: ________ in TR → BL: ________ in Δ: ________ in
DEPTH & OBSTRUCTIONS
Jamb depth: ________ in Obstacles (locks/cranks/shades/AC/well cover): ________________________
TOLERANCE & REVEAL PLAN
Minus tolerance (W): _____ in (H): _____ in Target reveal each side/top/bottom: _____ in
QUICK-RELEASE (if egress)
Handle height from floor: ________ in Child reach test: Pass ☐ Fail ☐ Notes: ________________
SUBSTRATE & ANCHORS
Wood studs ☐ Brick ☐ Block ☐ Concrete ☐ Notes (stud spacing/filled cells): _____________________
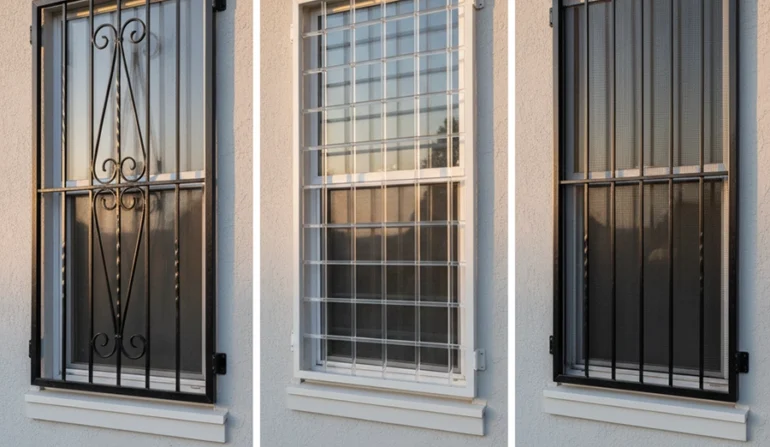
FINISH & STYLE
Black ☐ White ☐ Custom: __________ Decorative grid ☐ Standard pickets ☐ Coastal package ☐
PHOTOS TAKEN: Interior ☐ Exterior ☐ Well/Cover ☐
B) Monthly Egress Drill Log (Bedrooms/Basements)
Room/Window ID: ____________________________
Date | Participants | Pass/Fail | Notes (binding/obstruction/fixes)
——|—————————-|———–|———————————–
____ | __________________________ | ___ | __________________________________
____ | __________________________ | ___ | __________________________________
____ | __________________________ | ___ | __________________________________
Example 1 — Interior Recess-Mount, Double-Hung Bedroom (Egress)
Why it works: Slightly out-of-square opening + seasonal movement → extra height tolerance prevents binding. Child can reach the handle; monthly drill passes.
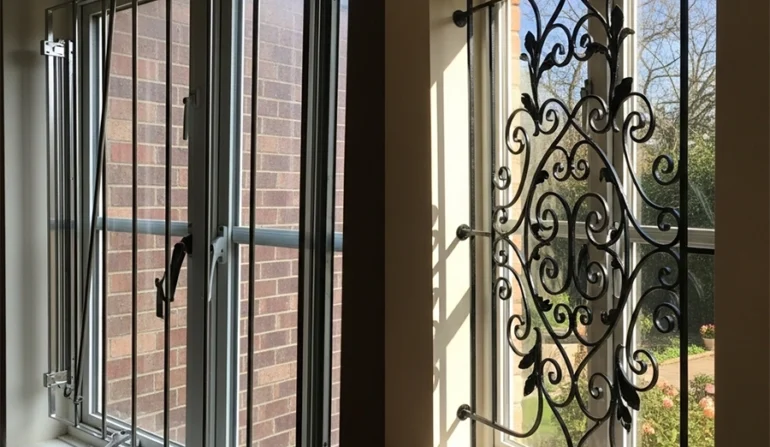
Example 2 — Exterior Surface-Mount on Brick (Utility Room)
Why it works: You specify the visual footprint for perfect symmetry from the sidewalk; anchors land in solid brick for strength.
Example 3 — Basement Hopper with Window Well (Interior Quick-Release)
Why it works: In-swing avoids collisions with well wall/cover; side hinge gives a clean arc. Extra height tolerance offsets the racked opening.
Example 4 — Slider with AC Unit (Interior Bar + AC Security Bar)
Why it works: Measurements reflect the real, in-use configuration; hinge placement keeps the quick-release clear of cords and panels.
Use the 3×3 method, apply the tolerance table, plan your reveals, and choose the hinge side that keeps the quick-release clear and child-reachable. If you’d like a second set of eyes on your worksheet, send your notes and photos—our specialists will confirm window bar sizes and recommend anchors and finishes for your exact substrate.
EMAIL ADDRESS: sales@securitywb.com
SITE: www.securitywb.com
PHONE:
CDMX: +52 (55) 5272 3355 USA: +1 (650) 4371 575


COOKIES POLICY
Security Window Bars LLC ("SWB") uses cookies and similar technologies to improve your browsing experience and enhance the functionality of our website www.securitywb.com (the “Website”). This Cookies Policy explains what cookies are, how we use them, and how you can manage your cookie preferences.
By using our Website, you agree to our use of cookies as described in this policy.
Last Updated: 01/01/25