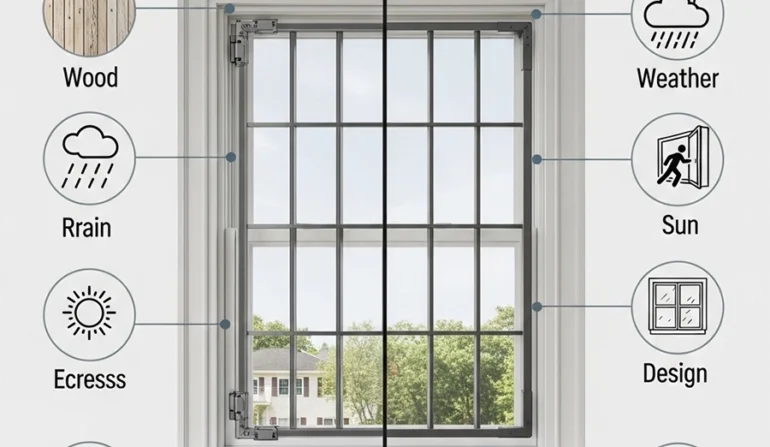
Children explore. They climb, lean, and push—especially around windows. The right combination of child-safe window bars, window safety bars for kids, and quick-release egress hardware prevents falls and deters opportunistic intruders without turning your home into a fortress. In this guide, you’ll learn the difference between security window bars (burglary resistance) and window guards (fall prevention), how to size and install window bars that open from inside, and which features make nurseries, playrooms, and bedrooms truly safe.
“Child-safe” isn’t a single product; it’s a system:
Done right, your windows become safer to live with every day—not just “more secure.”
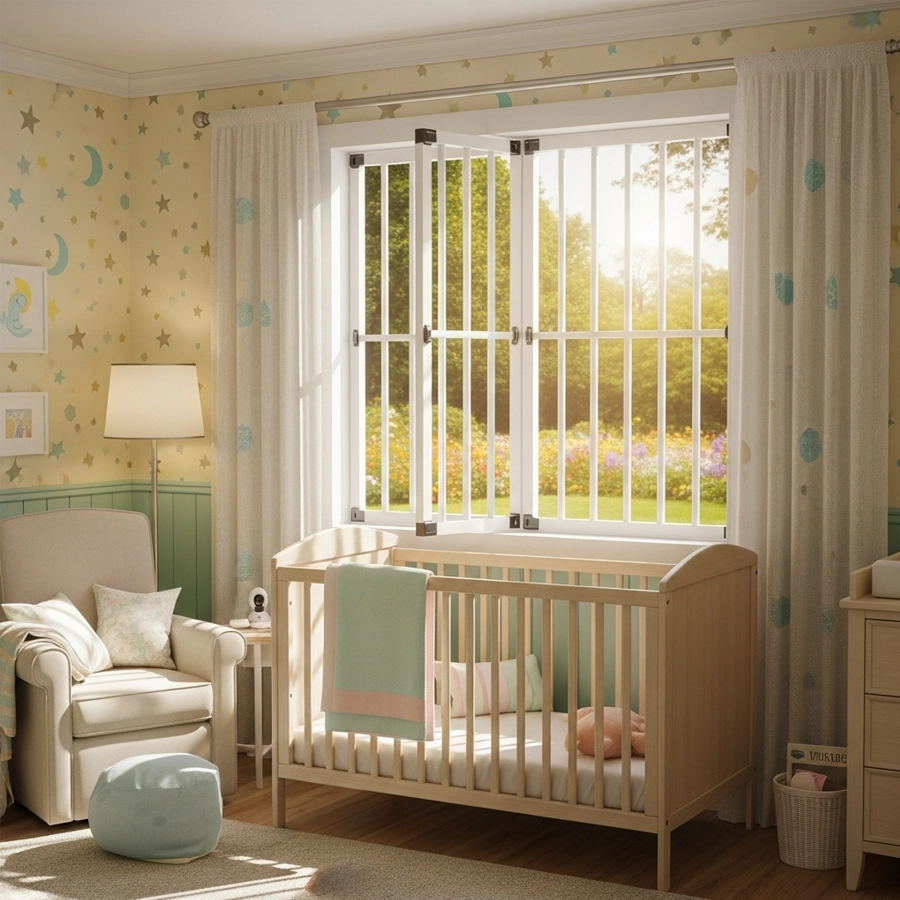
Window guards are fall-prevention devices that limit openings—often keeping gaps under ~4–5 inches so toddlers can’t slip through. They’re common in nurseries, playrooms, and multi-story bedrooms.
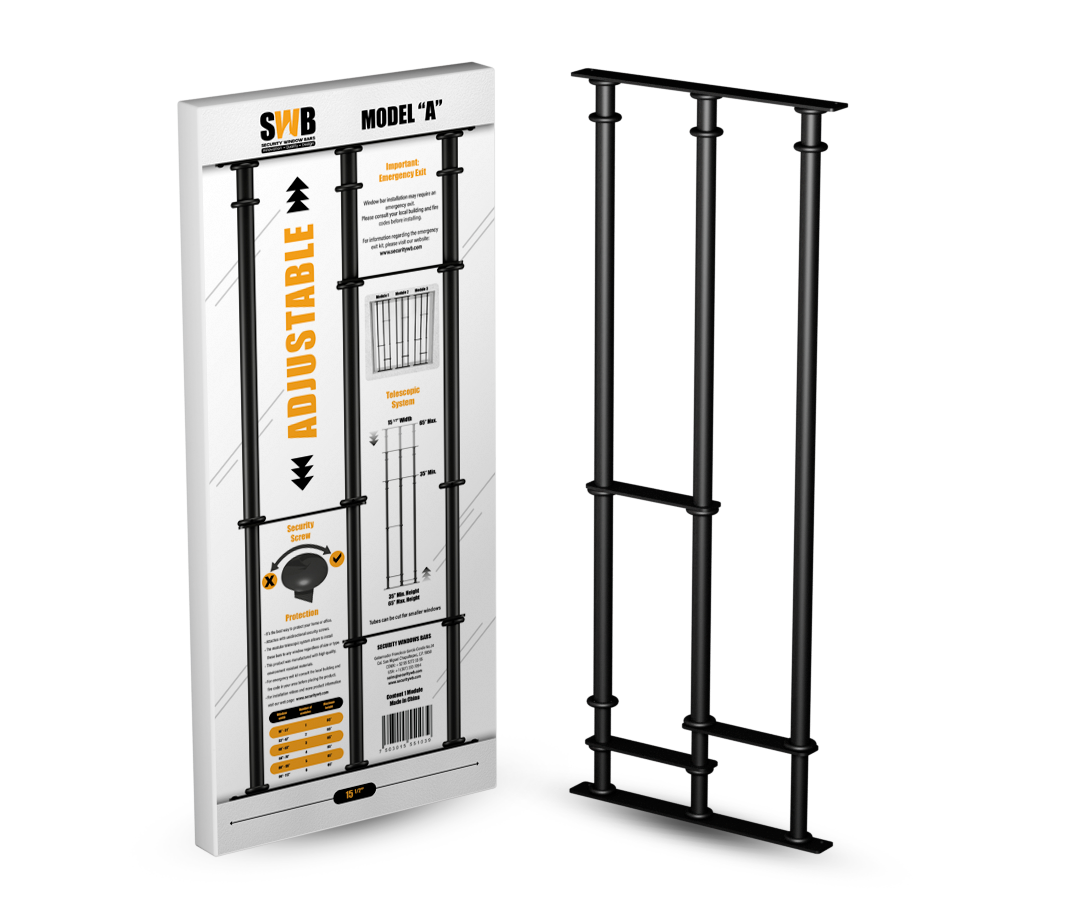
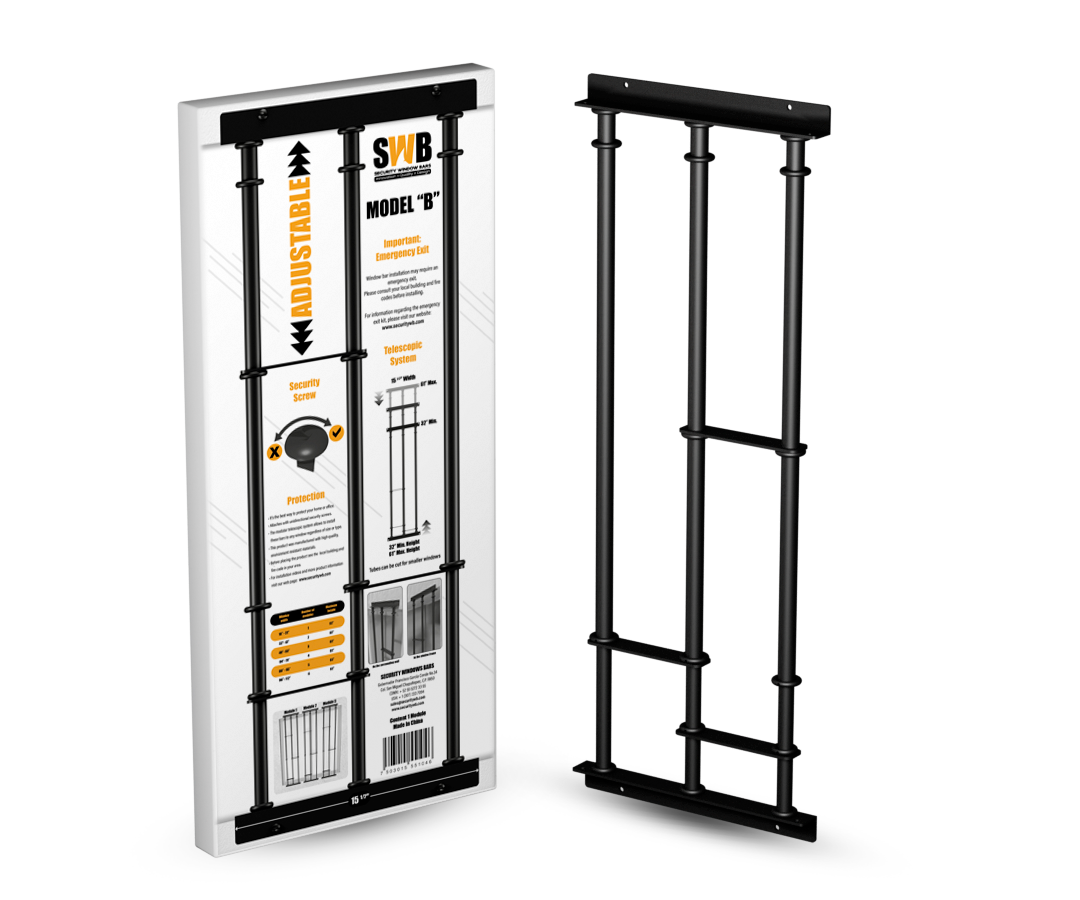
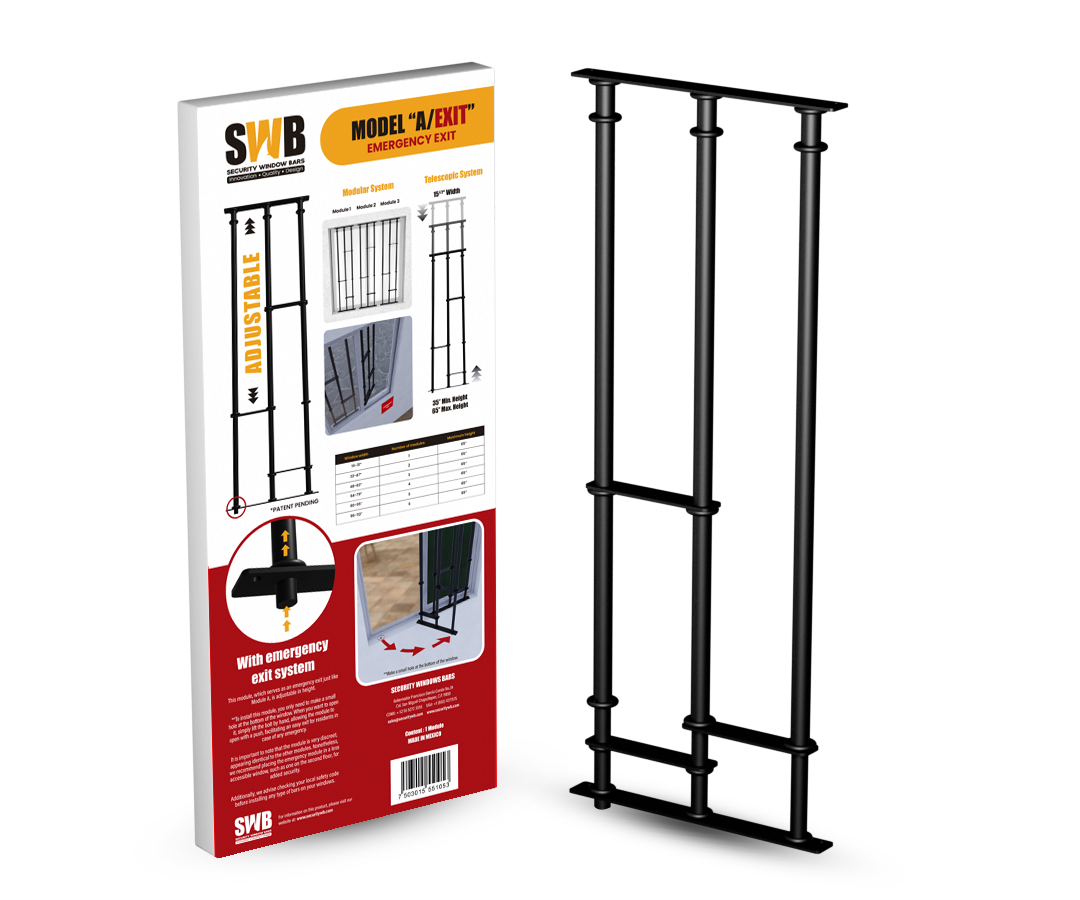
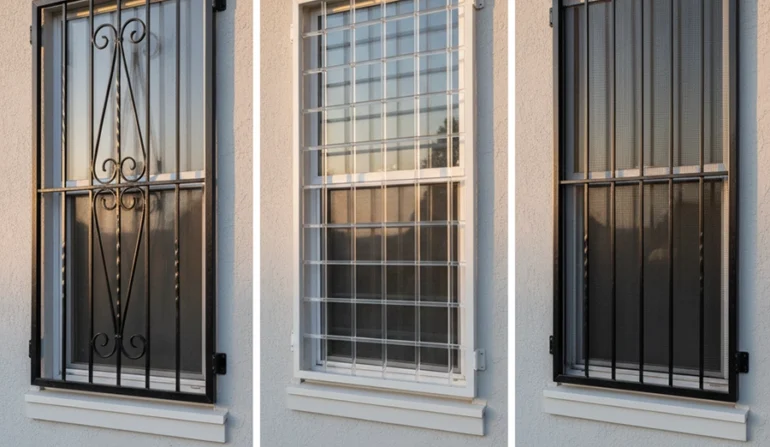
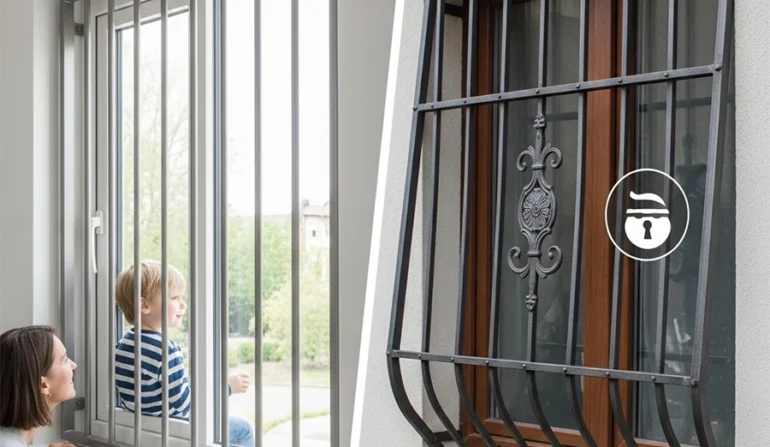
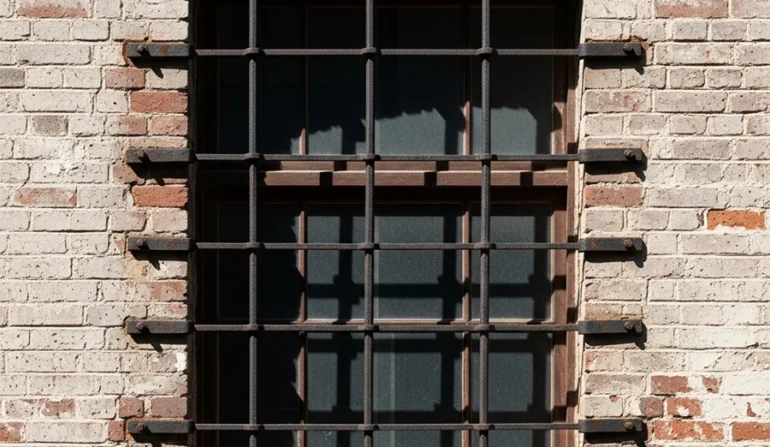
Security window bars are anti-burglary grilles designed to resist forced entry. Modern designs can be decorative, hinged, and equipped with quick-release hardware for egress.
When to combine them
Rule of thumb: in rooms where kids sleep or play near windows, treat fall prevention + egress as non-negotiable, then add burglary resistance as needed.
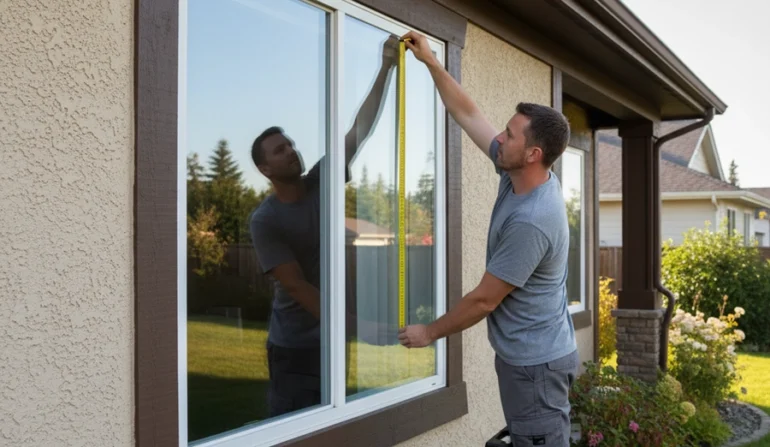
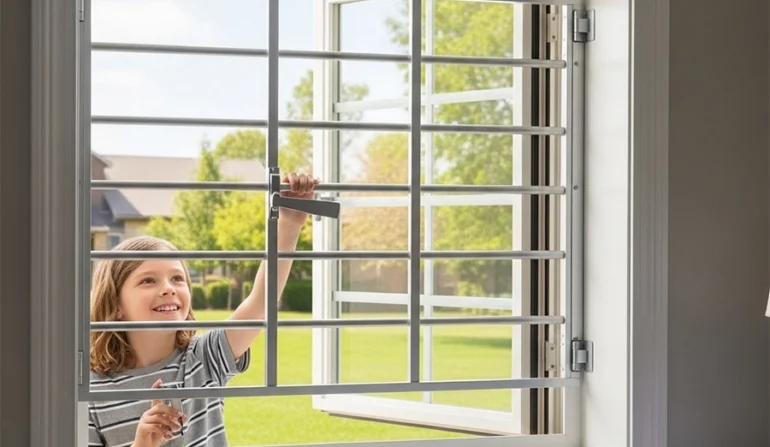
In any room used for sleeping, plan for emergency egress. Choose window bars that open from inside with a one-hand, one-motion quick-release (no keys, no tools). Children, sitters, and grandparents should all be able to operate it.
Egress essentials
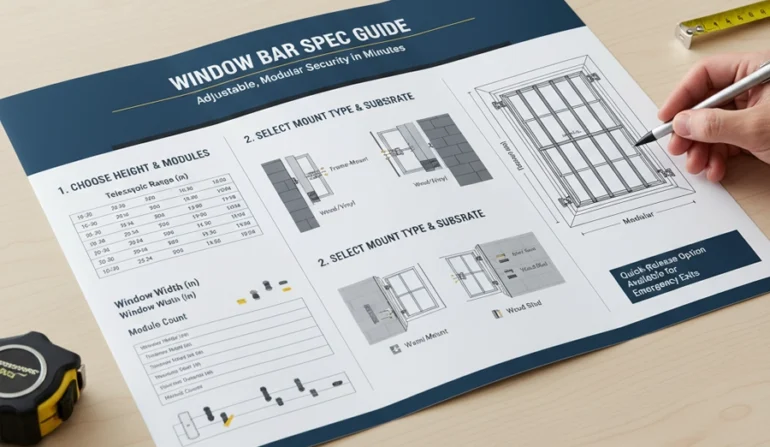
Picket spacing
Height & reach
Cord & curtain safety
Cribs & furniture
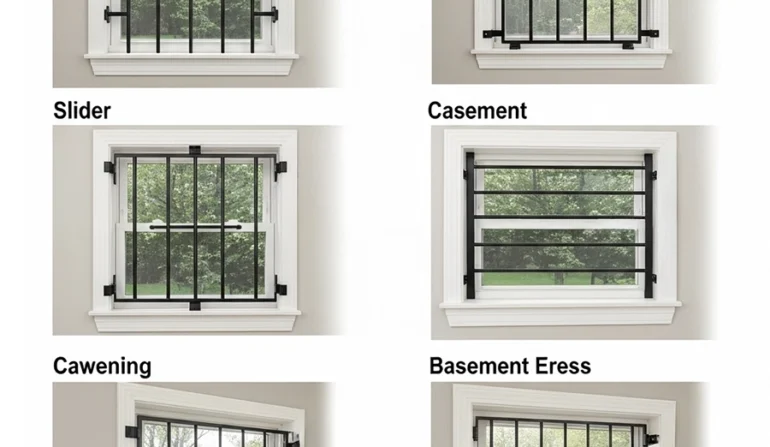
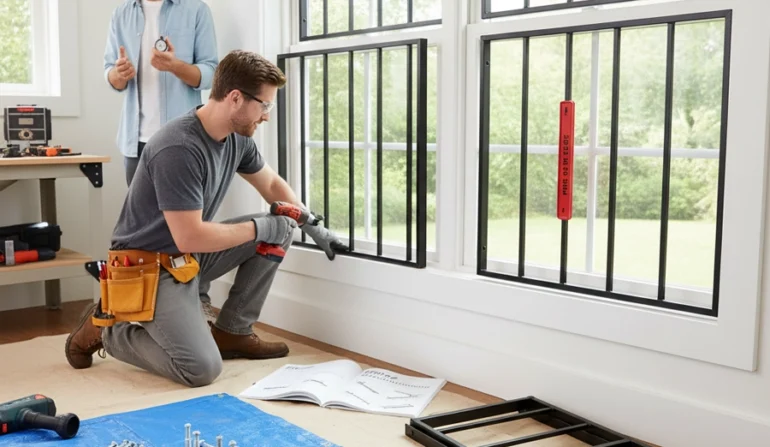
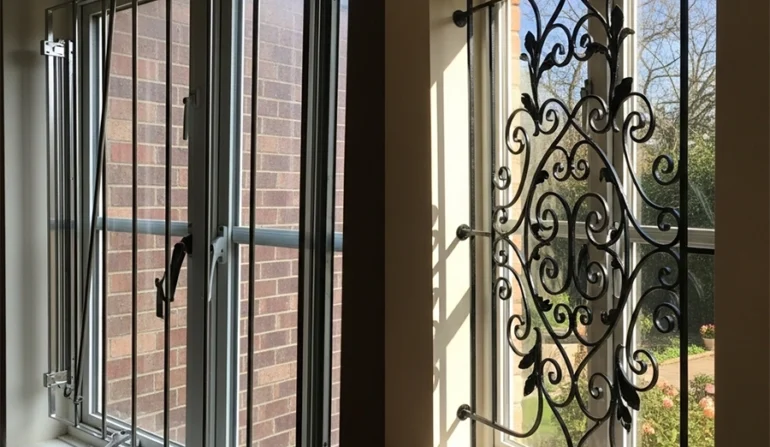
Interior child-safe window bars
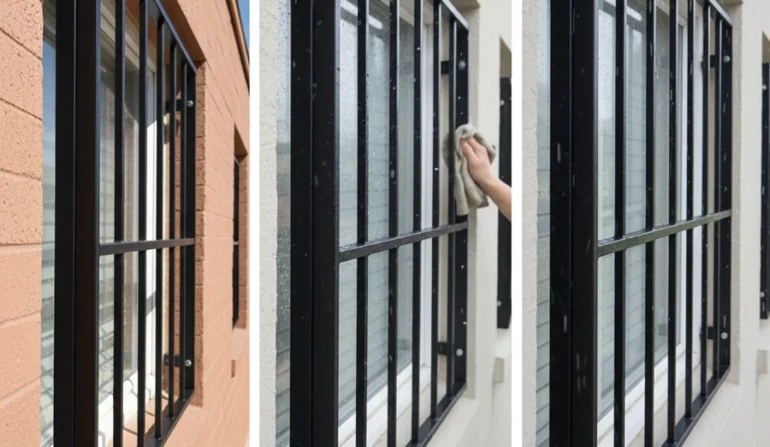
Exterior child-safe window bars
For bedrooms and nurseries, interior quick-release is usually the safest and simplest approach.
Pro tip: Tape a paper mockup of the grille/guard on the jamb to verify sightlines and release position from a child’s vantage point.
Interior (Wood Framing)
Masonry (Brick, Block, Concrete)
Apartments & Rentals
Parents & Homeowners
Landlords & Property Managers
The safest solution for families combines fall prevention with security window bars that open from inside. Keep spacing tight, mount the release at child height, route blinds and cords out of the way, and practice monthly. If you’d like help matching guards and child-safe window bars to your exact windows, our specialists are happy to guide you step by step.
EMAIL ADDRESS: sales@securitywb.com
SITE: www.securitywb.com
PHONE:
CDMX: +52 (55) 5272 3355 USA: +1 (650) 4371 575

COOKIES POLICY
Security Window Bars LLC ("SWB") uses cookies and similar technologies to improve your browsing experience and enhance the functionality of our website www.securitywb.com (the “Website”). This Cookies Policy explains what cookies are, how we use them, and how you can manage your cookie preferences.
By using our Website, you agree to our use of cookies as described in this policy.
Last Updated: 01/01/25