BLOG

security window bars
interior quick-release basement window security bars opening from inside for egress

Basement Window Security Bars: A 2025 Guide to Safe Egress, Strong Anchors, and Clean Design

Basements are high-value entry points: they’re lower to the ground, less visible from the street, and often have smaller windows that burglars test first. The right basement window security bars stop push-ins and pry attacks without blocking your emergency exit. In this guide you’ll learn how to choose quick-release basement window bars, measure around window wells and covers, pick moisture-resistant finishes, and mount bars securely to brick, block, or poured concrete—so your below-grade windows are protected and code-friendly.

Share

Why Basements Need Window Bars (And What’s Different)

  • Easy leverage & concealment. The lower sill gives intruders hand leverage on the sash and a place to brace tools, typically out of neighbors’ view.
  • Small openings ≠ safe. Even small hopper windows can be pried; flimsy well covers are easy to lift.
  • Humidity & splashback. Below-grade walls see condensation and damp soil; hardware and finishes must resist corrosion.

What’s different about basements: you must plan around window wells, lids, and tight clearances—and keep egress instant with a quick-release that a child can operate.

Egress First: Basement Window Bars That Open From Inside

If the basement space is used as a bedroom or living/sleeping area, treat the window as an egress route. Choose basement egress window bars with a one-hand, one-motion quick-release—no keys, no tools—mounted at a reachable height for children and seniors.

Egress essentials (non-negotiable):

  • Interior-only access to the release.
  • One hand, one motion—lever, pull, or lift handle.
  • Clear swing past blinds, furniture, well walls, and well cover lids.
  • Monthly lights-off drill so everyone can open by feel.

In tight wells, a side-hinged interior quick-release usually clears the wall better than top-hinged.

Window Wells & Covers: The Clearances You Must Measure

Below-grade openings often sit inside a window well with a lid. Your bar must open without colliding with either.

Measure and record:

  1. Well depth: window plane back of well wall (inches).
  2. Well width: left/right clearance at the widest and narrowest points.
  3. Cover height: thickness of the lid when shut (some lids sit proud of grade).
  4. Obstructions: ladders, well drain pipes, sump discharge, or grates.

Goal: the bar’s swing arc should clear the well wall and the lid with an extra ½–1 inch buffer to account for seasonal shifts.

Moisture, Rust & Finishes That Last Below Grade

Basements want coastal-grade thinking even far from the ocean.

  • Powder-coated steel is the best strength-to-cost choice; step up to galvanized steel under powder coat for damp wells or high humidity.
  • Stainless hinge pins and capped fasteners prevent streaking and seize-ups.
  • Satin sheen hides dust and fingerprints better than glossy finishes.
  • Seal penetrations (exterior) with a flexible sealant; check after heavy rain or snowmelt.

If your well floods, pair bars with drainage maintenance and consider a lid upgrade—security is strongest when water management is solved.

Interior vs Exterior Basement Window Bars

Interior basement window security bars (recommended for egress spaces)

  • Pros: quick-release is easy to reach/test; protected from splash and UV; minimal change to exterior look.
  • Cons: small loss of interior sill depth; coordinate with shades.

Exterior basement window security bars

  • Pros: stout anchoring to masonry; visible deterrence from the yard or alley.
  • Cons: release must be interior-only via concealed linkage; more sealing and corrosion exposure; plan carefully around well lids.

Rule of thumb: if people sleep there, choose interior quick-release. For utility rooms or storage, exterior fixed bars can be ideal.

Measuring: 3×3 Method + Well & Cover Dimensions

Inside the opening (interior recess-mount):

  • Width: top, middle, bottom—keep the smallest number.
  • Height: left, center, right—keep the smallest number.
  • Diagonals: both directions—note any racking (Δ).
  • Obstacles: locks, cranks, shade rails, sensors.

Subtractions (tolerances) so bars don’t bind:

  • ≤24″ side −1/8″
  • 24–36″ −3/16″
  • 36–48″ −1/4″
  • 48″ −5/16″

Window well notes: record well depth, width, and cover height right on your worksheet. Your hinge & swing choice must clear that geometry—often a side hinge into the room.

Installation on Brick, Block (CMU) & Poured Concrete

Brick (exterior or interior foundation brick):

  • Hammer drill; avoid soft mortar joints when possible—aim into brick units.
  • Vacuum dust from holes; dust is the #1 cause of loose anchors.
  • Use sleeve or wedge anchors sized to the tabs; torque evenly to avoid frame warp.

CMU Block:

  • Target filled cells if known; otherwise use anchors rated for hollow block or consider chemical anchors.
  • Keep edge distances conservative; do not blow out thin webs.
  • Level/plumb the frame, then tighten in a cross pattern.

Poured Concrete:

  • Wedge anchors provide excellent pull-out; drill to spec and clean holes thoroughly.
  • Avoid rebar where possible; use a depth stop or mark the bit with tape.

Interior wood backers (if present):

  • Find studs; pre-drill undersized for lag screws; use washers; never anchor only to trim or drywall.

Hopper, Slider & Casement Basement Windows: Smart Patterns & Hinges

  • Hopper (most common): hinge the bar left or right (not top) so the swing clears the well wall; choose lift-to-open or lever release for low force.
  • Slider: hinge opposite the active sash and shade controls; a simple vertical picket pattern keeps light.
  • Casement: hinge the bar opposite the casement hinge so the bar opens into the larger clear space and avoids the crank.

Align rails with the window’s muntins/rails so the bars read “built-in” instead of “added on.”

Layering Security (So You Don’t Overbuild One Thing)

Physical bars are the backbone. Add:

  • Good lighting into the well and along egress paths.
  • Laminated glass to resist shatter and delay intruders behind the glass plane.
  • Contact sensors on sashes; bars don’t block alarm use.
  • Well lid upgrades that resist casual lift-offs (still easy for egress from inside).

Layered protection keeps aesthetics intact while hardening the opening from multiple angles.

Costs for Basement Window Bars in 2025 (What Moves the Needle)

Per-opening ballparks vary by region and substrate:

  • Fixed interior (non-egress): $90–$250
  • Hinged quick-release (egress): $250–$600
  • Decorative interior/exterior: $350–$1,200
  • Well-specific custom frames / lids integration: add for templates & fitment
  • Coastal/damp package (galv + powder, stainless pins): +15–25%

Labor drivers: masonry drilling & dust control, tight wells requiring small tools, and multi-window alignment across a foundation wall.

Maintenance & a Monthly Egress Drill

  • Monthly (lights off): open the quick-release with one hand; confirm kids can reach; re-latch smoothly.
  • Seasonal: dry PTFE on hinge/latch pins; wipe dust; touch up chips; inspect seals after heavy rain.
  • After big storms: check anchor torque and look for water tracks or rust near fasteners.
  • Décor drift: ensure shades/cords and storage near wells don’t block the swing.

Common Basement Mistakes to Avoid

  • Installing fixed bars on a sleeping-space window.
  • Top-hinging bars in tight wells where the lid/wall blocks the swing.
  • Anchoring only into mortar or thin CMU webs; target brick units or filled cells.
  • Skipping dust removal in masonry holes; anchors will loosen.
  • Mounting the quick-release too high for children to reach.
  • Forgetting the well cover height—bars collide and bind.
  • Under-spec finishes in damp wells; rust creeps from small chips.

Buying & Install-Day Checklists (Printable)

A) Basement Window Bars — Buying Checklist

  1. Room use (egress?): bedroom, guest room, playroom, storage.
  2. Mount: interior quick-release (recommended for egress) or exterior fixed.
  3. Window type: hopper, slider, casement.
  4. Measurements: 3×3 width/height, both diagonals; well depth/width & cover height.
  5. Hinge & swing: side that clears well wall/lid and shades; handle at child height.
  6. Substrate: brick, block (hollow/filled?), poured concrete, or interior wood backers.
  7. Finish: powder-coated steel; galv + powder in damp wells; stainless pins/caps.
  8. Style: standard pickets or decorative aligned to rails.
  9. Accessories: well lighting, improved lid, laminated glass.
  10. Documentation: photos (in/out), notes on obstacles, planned monthly drill.

B) Install-Day Checklist (Basement)

  • Tools staged; hammer drill + masonry bits; vacuum for hole dust.
  • Dry-fit frame; mark holes; verify hinge swing past well wall/cover.
  • Drill & vacuum dust; set sleeve/wedge anchors (masonry) or lags (studs).
  • Level/plumb; torque in cross pattern to avoid warp.
  • Install quick-release; 10 open/close cycles including by a child.
  • Seal exterior penetrations; touch up finish; photograph open/closed and handle reach.

FAQs

Do I really need quick-release in a basement?


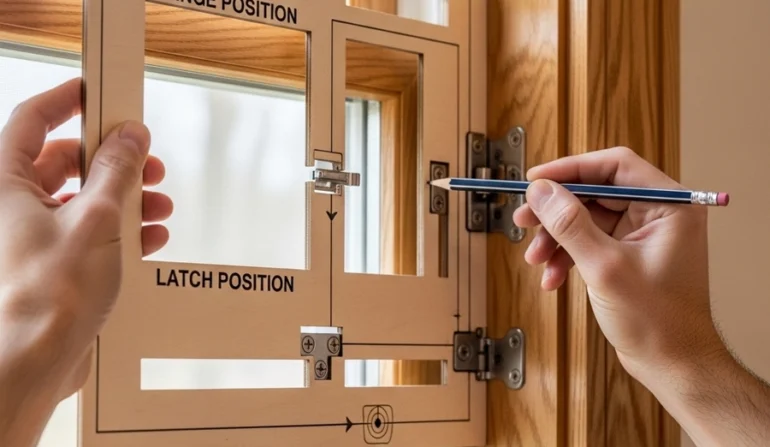
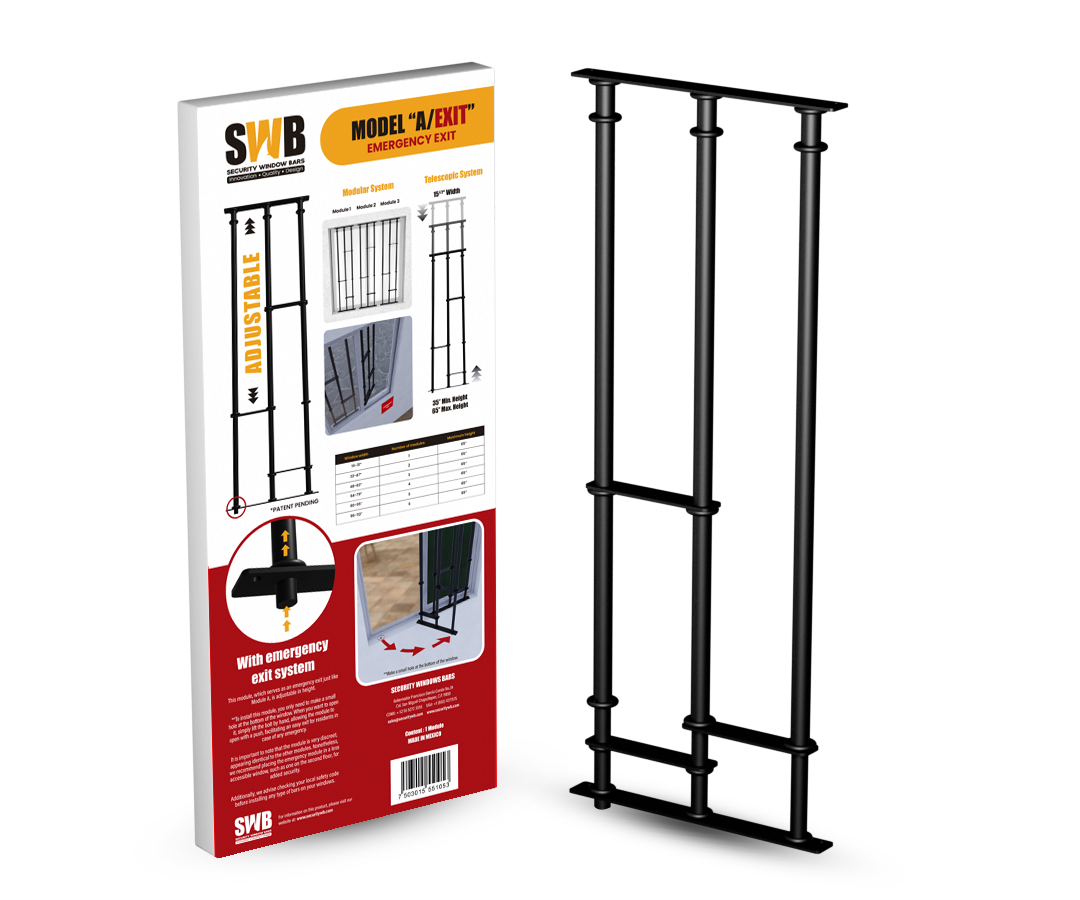
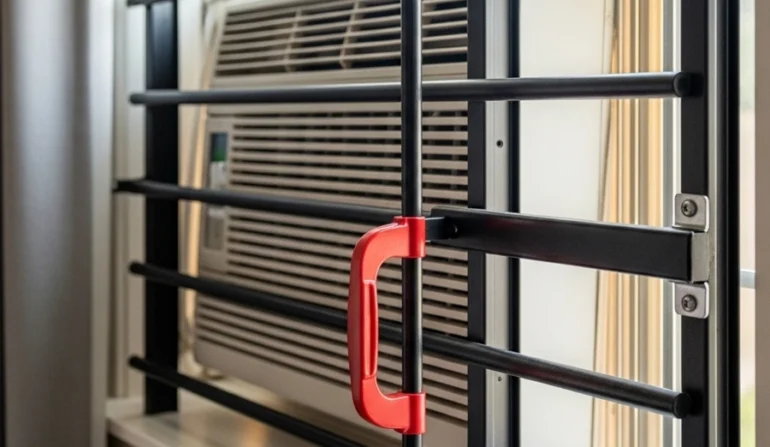
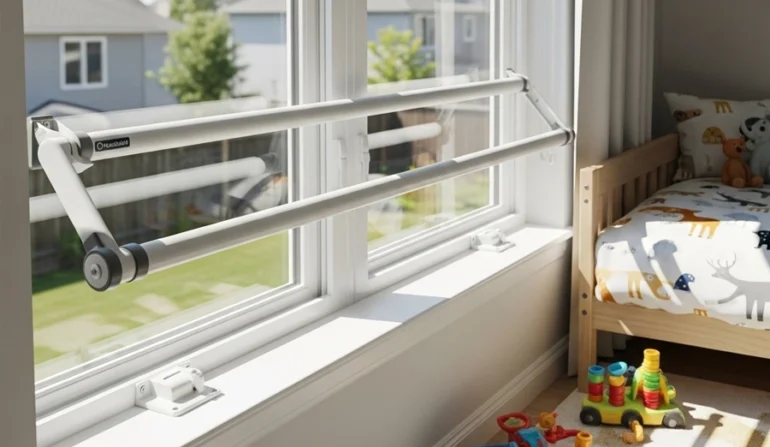
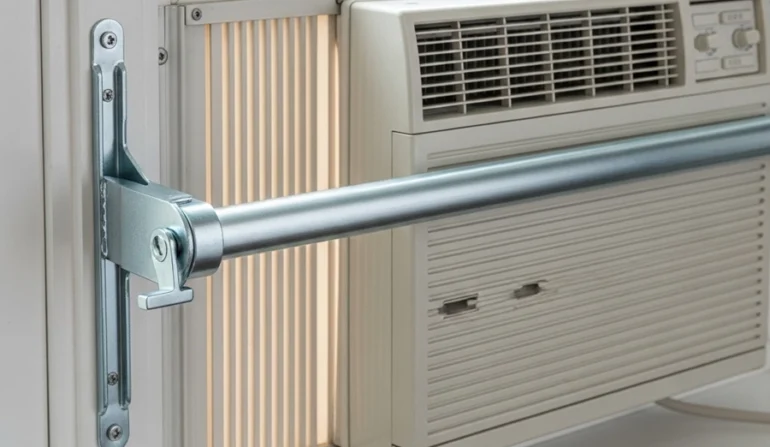
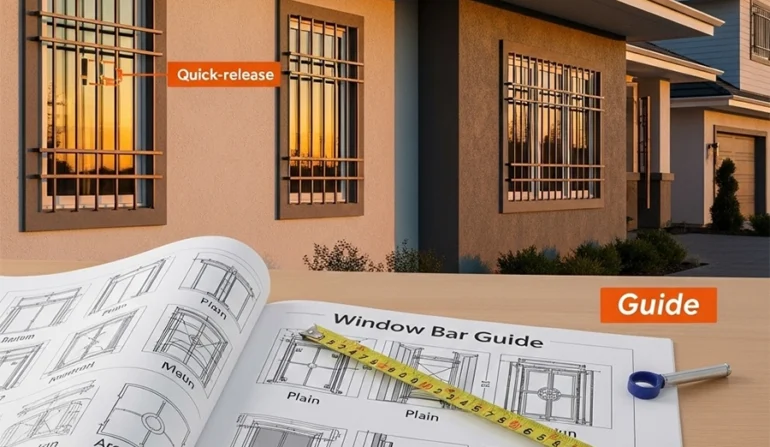
If the space is used for sleeping or as a living area, yes. Basement egress window bars should open from the inside with one hand, no tools—so escape stays fast.

What hinge side is best for tight wells?


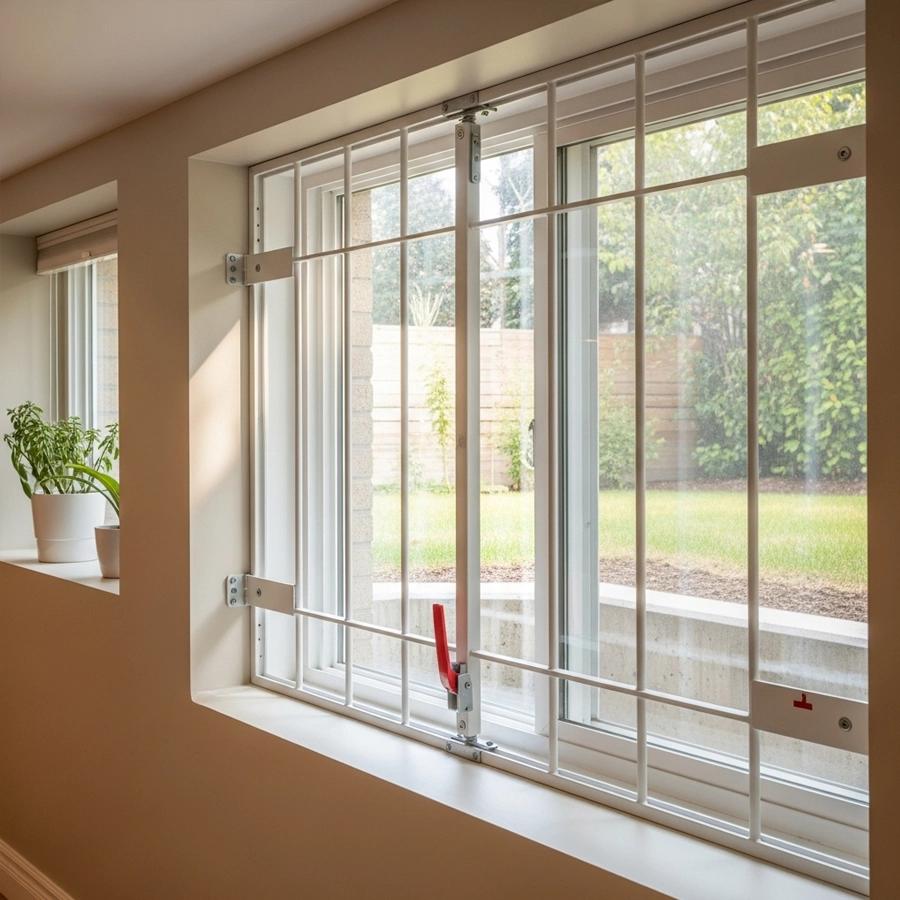
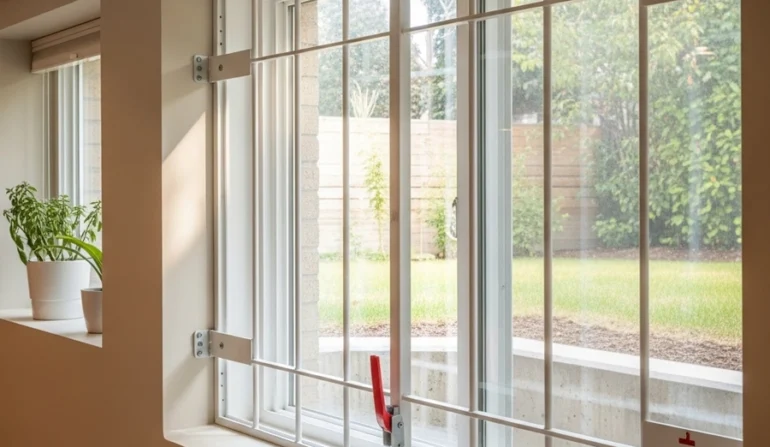
Usually a side hinge. Top hinges can collide with the well wall or lid. Measure well depth and cover height first.

Will bars rust in damp wells?


Not with the right finish. Choose galvanized steel under powder coat, stainless hinge pins, and seal penetrations. Touch up chips promptly.

Can I install bars on hollow block?


Yes—use anchors rated for hollow CMU or target filled cells/solid backing. Clean out dust before setting.

Do basement bars make rooms darker?


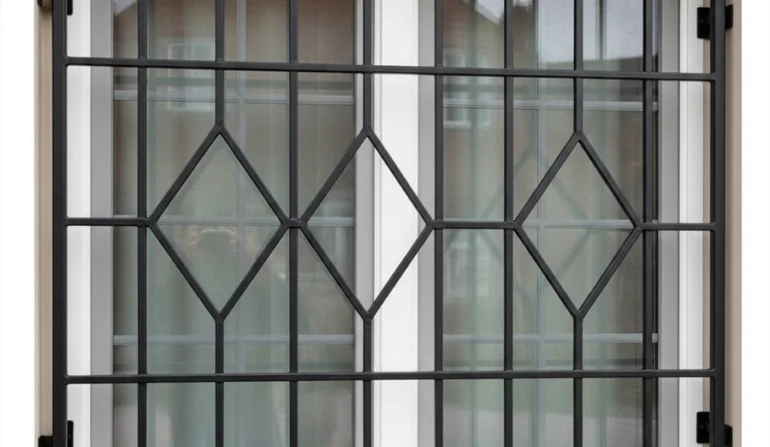
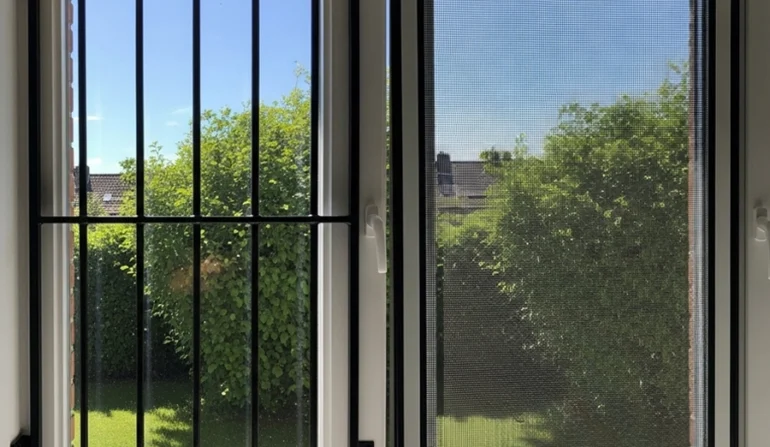
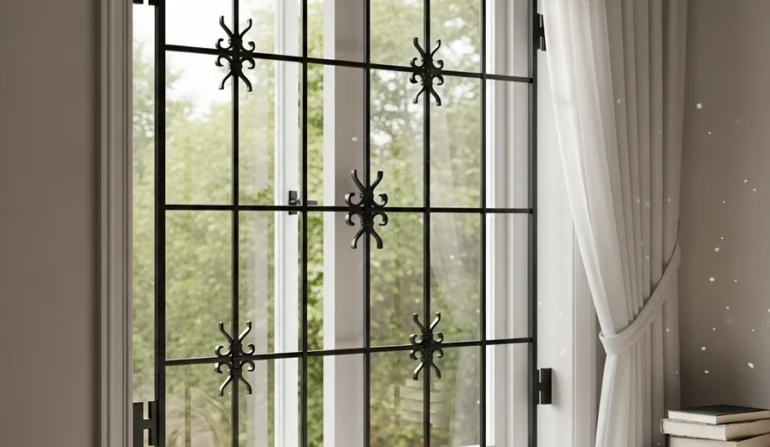
With slim pickets and aligned rails, light loss is minimal. Consider well lighting to brighten the space.

Are exterior basement bars okay for bedrooms?


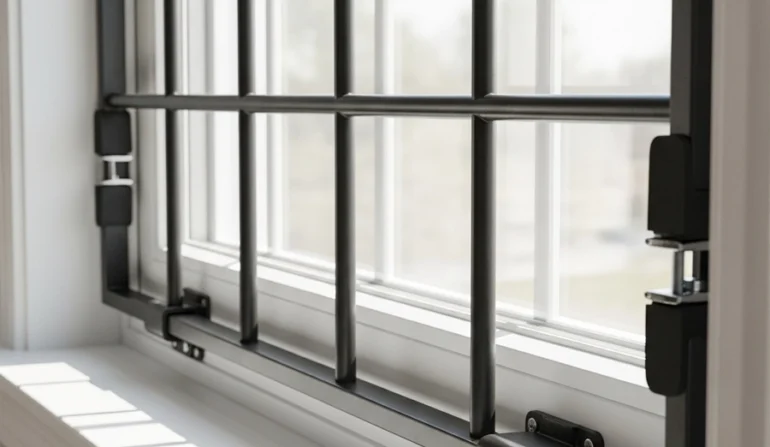
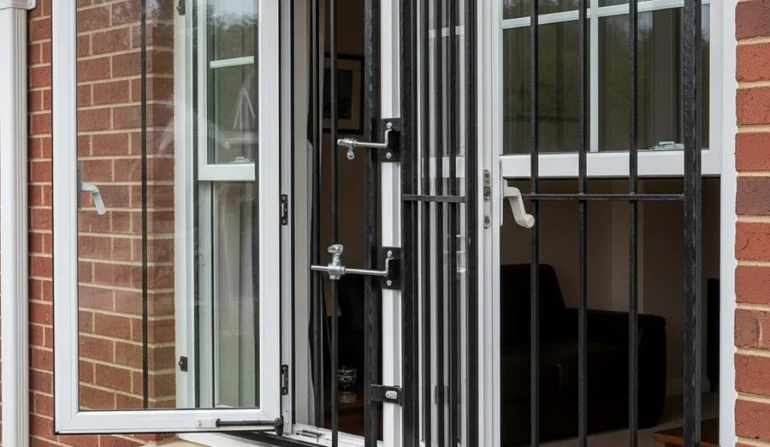
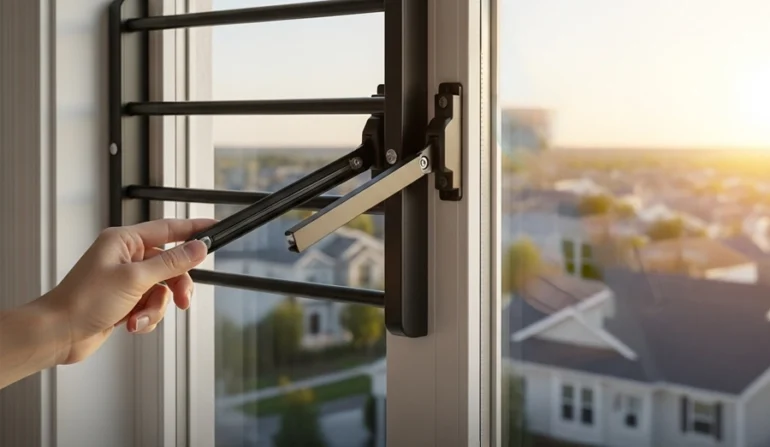
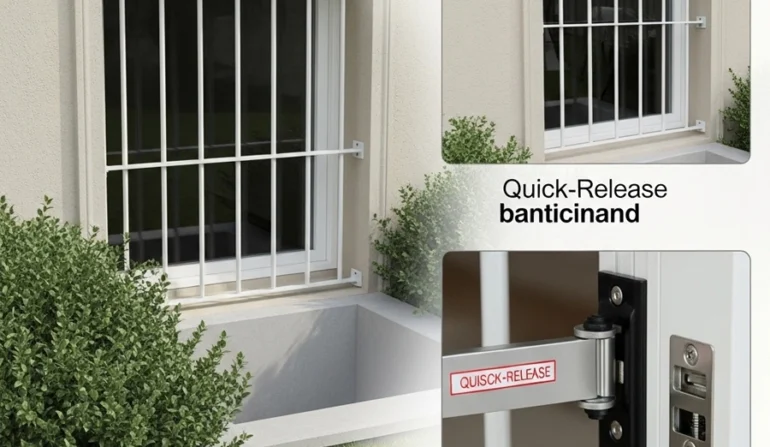
They can be—only if the release is interior-only via a protected linkage and the swing clears the well/lid. Interior quick-release is usually simpler.

What about existing well lids?


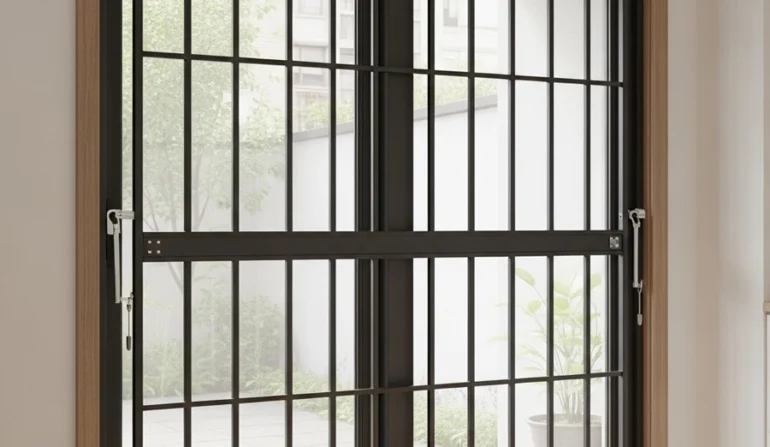
Keep them. Just ensure the bar clears the lid when opened and that opening the lid from inside remains easy.

Ready to Secure Your Basement Windows—Without Sacrificing Escape?

Choose interior quick-release basement window bars for sleeping spaces, measure your well clearances carefully, select moisture-resistant finishes, and install with anchors matched to brick, block, or concrete. If you’d like help verifying hinge side, swing, and well clearance, send photos and measurements—our specialists will map the best solution.

EMAIL ADDRESS: sales@securitywb.com
SITE: www.securitywb.com
PHONE:
CDMX: +52 (55) 5272 3355  USA: +1 (650) 4371 575

Share

Recent Post

COOKIES POLICY

Security Window Bars LLC ("SWB") uses cookies and similar technologies to improve your browsing experience and enhance the functionality of our website www.securitywb.com (the “Website”). This Cookies Policy explains what cookies are, how we use them, and how you can manage your cookie preferences.

By using our Website, you agree to our use of cookies as described in this policy.

Last Updated: 01/01/25