BLOG

security window bars
Window Security Bars

Basement Window Security Bars 2025: Strong, Secure & Code-Approved Safety

Basement windows sit low, stay out of sight, and often hide behind shrubs or window wells. That combination makes them one of the most attractive entry points for opportunistic intruders. Fortunately, well-designed basement window security bars change the equation. They provide visible deterrence, serious resistance to prying, and—when configured with quick-release hardware—safe emergency egress for rooms used as living space. In this guide, you’ll learn exactly how to choose, size, and install security bars for basement windows without sacrificing safety, style, or airflow.

Why Basements Need a Different Approach

Basements are unique. They tend to be half-below grade, partially hidden from street view, and close to grade where tools give leverage. At the same time, finished basements are frequently used as bedrooms, playrooms, home theaters, or in-law suites. That means your solution must deliver security and egress in the same opening. Because of this dual requirement, window bars for basement windows are a different design exercise than bars for high, non-habitable windows.

Additionally, basements face moisture and condensation. Hardware lives closer to damp soil and fluctuating temperatures. As a result, material choice, finish quality, and sealing details are just as important as strength.

Egress and Code: Choose Window Security Bars That Open from Inside

Any basement space used for sleeping needs a fast, tool-free escape route. Therefore, if you add bars, they should be quick-release basement window bars—hinged grilles with an interior-only latch that opens in one motion. The release must be reachable by children and seniors. No keys. No special tools. No hidden tricks.

Practical rules to follow

  • Treat every bedroom or sleeping area as an egress zone.
  • Keep the swing path clear: blinds, cords, furniture, and window well covers must not block the opening.
  • Test the release monthly. Meanwhile, show all occupants how it works.
  • If local rules are unclear, choose quick-release anyway. Safety comes first.

Types of Basement Window Security Bars

Fixed Basement Window Bars

Fixed frames provide maximum rigidity with minimal cost and zero moving parts. Use them only where egress is not required—storage rooms, utility spaces, or windows too small to qualify as exits.

Hinged Window Bars (Swing-Open)

Side-hinged frames that swing like a door. With the right quick-release latch, they provide code-friendly egress and are easy to clean behind. For most finished basements, this layout is the sweet spot.

Removable or Adjustable Bars

Telescoping or framed units designed to be taken down without heavy tools. These are helpful for renters or short-term protection, and they’re ideal for small hopper or slider windows that vary in size.

Interior vs Exterior Styles

Both work (details below), but interior mounts make the release easier to reach during an emergency and protect the mechanism from weather.

Interior vs Exterior Mounting in Basements

Interior Basement Window Bars

  • Pros: Release is obvious and reachable; hardware stays dry; cleaner exterior look; simpler to coordinate with window well covers.
  • Cons: Slightly reduces interior sill space; blinds must be managed to avoid fouling the swing.

Exterior Basement Window Bars

  • Pros: Anchors directly into masonry for fantastic strength; preserves interior sill space; may align with other exterior grilles for a uniform façade.
  • Cons: Release must still be operable only from inside; weather exposure is higher; more coordination with well covers and landscaping.

Which should you pick?
For egress bedrooms, interior mounts are usually best. For non-egress utility rooms with stout masonry, exterior fixed bars make sense. In mixed cases, interior quick-release paired with a discreet exterior well cover often gives the best of both worlds.

Measuring Basement Windows (with Window Wells)

A precise fit prevents binding and speeds egress. Because basements add window wells and tight clearances, measure methodically.

  1. Define the mount (interior vs exterior; recess vs surface).
  2. Width: measure inside-to-inside at top, middle, bottom. Write down the smallest number.
  3. Height: measure left, center, right; again keep the smallest.
  4. Diagonal check: measure both diagonals; if they differ, note which corner is high.
  5. Depth and obstructions: record jamb depth, crank handles, lock levers, outlet covers, blinds, and well hardware.
  6. Hinge side and swing: in a well, swinging outward may hit the wall or ladder. Choose the side with the clearest arc.
  7. Well clearances: measure from the window plane to the well wall and to the cover when closed. The open bar must clear both.
  8. Child reach: position the release at a height that children can reach while standing on the floor, not the sill.

Pro tip: When wells are very tight, consider an in-swing hinged interior bar or a lift-release that projects less into the well space.

Anchors and Substrates: Concrete, Block, Brick, and Framed Wells

Basements bring multiple substrates. Choosing the right fastener is critical to real-world strength.

  • Poured Concrete: Use wedge or sleeve anchors sized to the load. Vacuum dust from holes so the anchor sets fully.
  • Concrete Block (CMU): If cells are hollow, use sleeve anchors or toggle-style masonry fasteners rated for block. Where possible, anchor into filled cells or grout solid behind tabs.
  • Brick: Aim for the brick, not the mortar joint; use sleeve anchors, tap-con style screws with the correct bit, or shield anchors.
  • Wood Framing (e.g., framed bulkhead walls): Use lag screws into studs; pre-drill undersized to maximize bite.

Sealant matters. After drilling, seal penetrations appropriate to the climate. That prevents water intrusion and corrosion around fasteners.

Moisture, Corrosion, and Finishes That Last

Basements are humid. Bars live near soil and see temperature swings that drive condensation. Therefore:

  • Choose powder-coated steel or galvanized + powder-coated for coastal or damp climates.
  • Avoid raw steel edges; make sure cut points are treated.
  • Use stainless hinge pins and tamper-resistant fasteners where exposure is high.
  • Keep a small air gap between bars and window to reduce trapped moisture.
  • Touch up chips promptly with matching enamel to stop rust before it spreads.

Design Without the “Prison” Look

You can absolutely protect a basement without ruining curb appeal. Modern decorative basement window bars use slimmer pickets, consistent spacing, and color-matched finishes.

Design tips

  • Mirror patterns from upper-floor windows.
  • Align pickets across side-by-side basement windows for a professional look.
  • Choose black for crisp contrast or white for minimalism; both hide dust better than bright colors.
  • Avoid the “ladder effect” by staggering horizontal rails on exterior bars close to the ground.

What Do Basement Window Bars Cost in 2025?

Final cost depends on size, substrate, quick-release hardware, finish, and installation complexity. Generally, expect:

  • Fixed interior bars (small hopper windows): most affordable per opening.
  • Hinged quick-release bars (bedrooms): higher due to heavy-duty hinges and latch hardware.
  • Decorative or custom patterns: add design and finishing time.
  • Masonry installs: slightly higher labor than wood due to drilling and anchor setting.
  • Window well coordination: minor additional time to align with covers, ladders, and drainage.

Because basement window security bars often prevent a single costly incident, they typically deliver excellent ROI.

DIY Installation: Step-by-Step for Basements

If you’re handy with a drill and level—and have a helper—you can install window bars for basement windows over a weekend. For uneven masonry, deep wells, or multi-unit jobs, hiring a pro saves time.

Tools & Materials

Drill/driver (hammer drill for masonry), appropriate bits, vacuum, level, tape measure, pencil, lag screws or masonry anchors, sockets, shims, PTFE dry lube, matching touch-up paint, weather-rated sealant, and safety glasses.

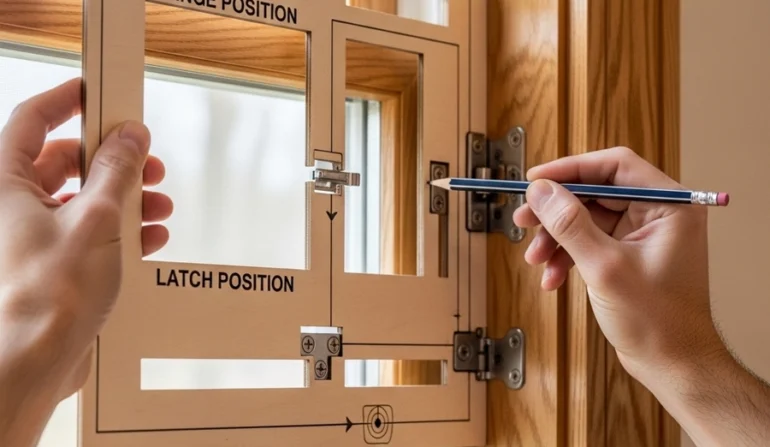
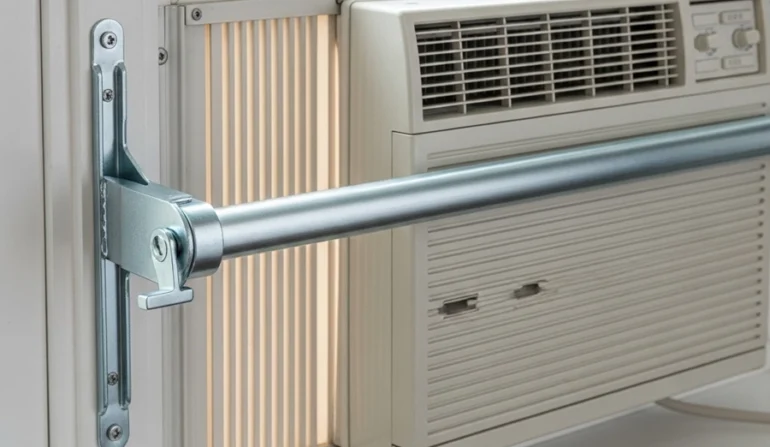
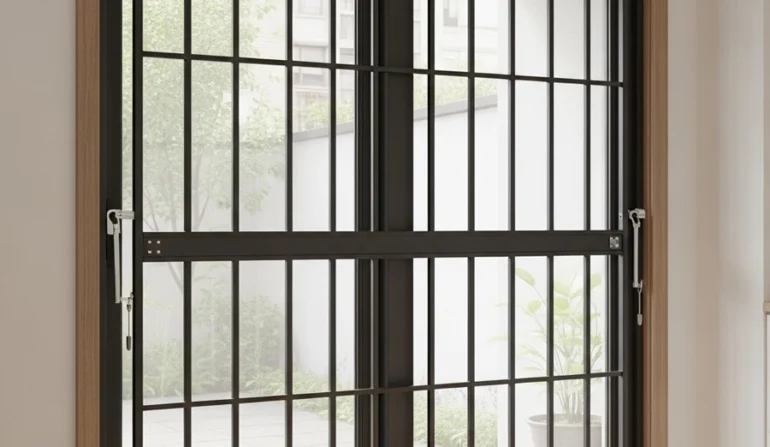
Step 1: Dry-Fit in the Well

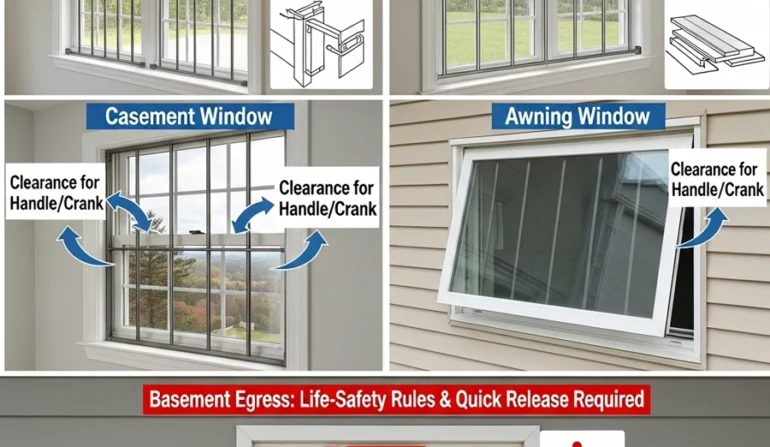
Place the frame and confirm the swing clears the well wall and cover. Mark hinge side and release position. If the cover conflicts, reposition the hinge or select an in-swing interior bar.

Step 2: Mark and Pre-Drill

Hold the frame square; mark all hole positions. Pre-drill wood studs for lags. For masonry, drill with the correct bit and vacuum dust before inserting anchors.

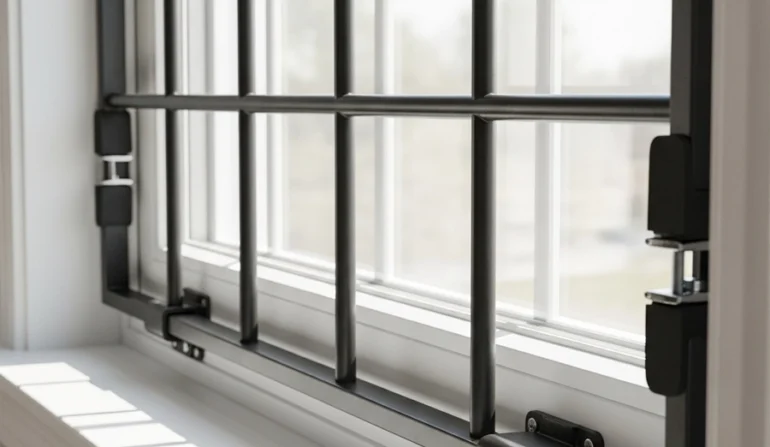
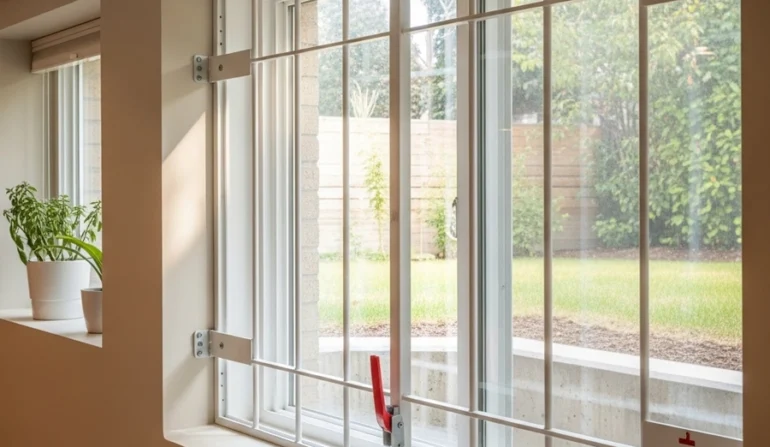
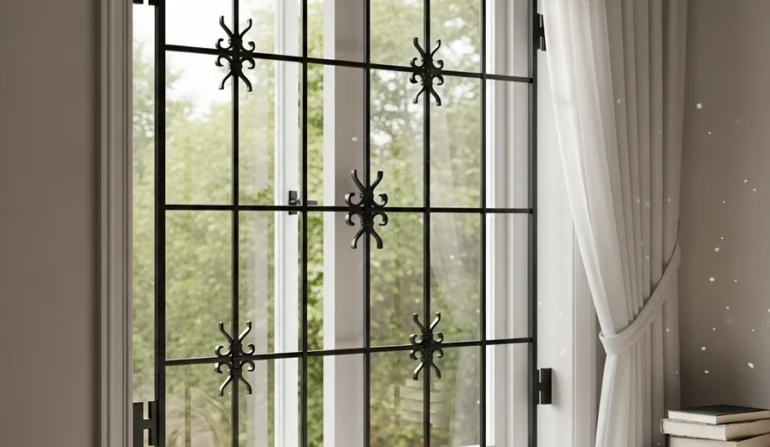
Step 3: Mount and Level

Set two opposite corners first. Check level and plumb. Then fill the remaining fastener points. Do not overtighten—warping causes binding.

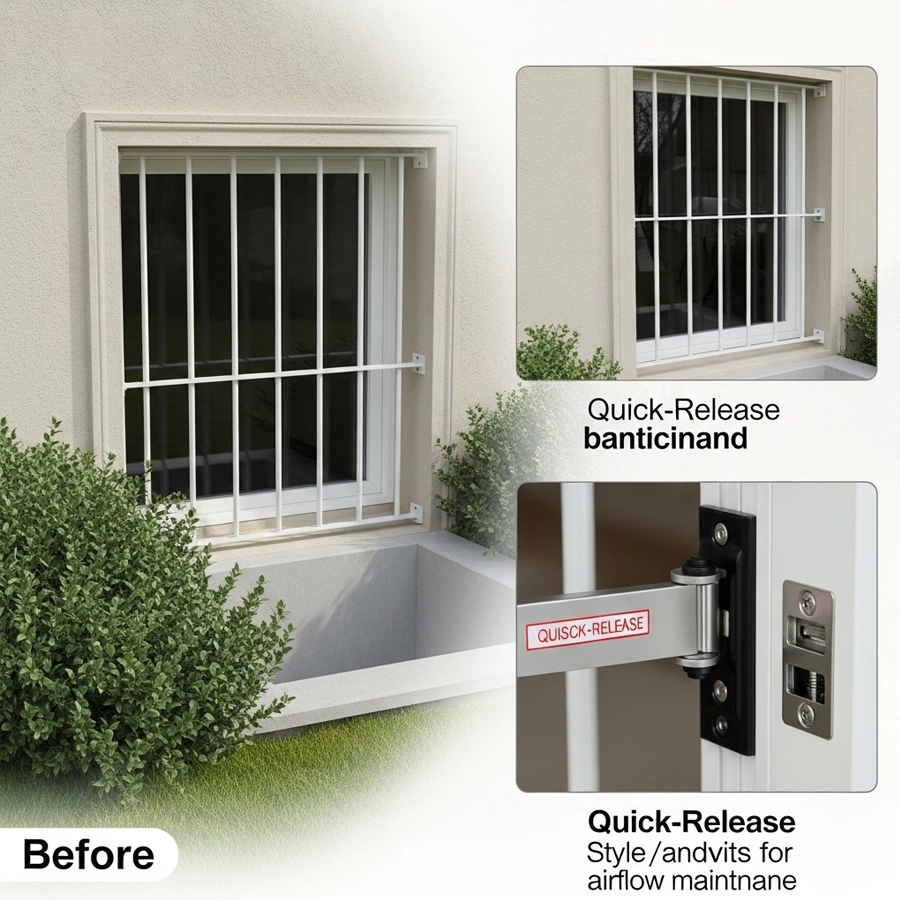
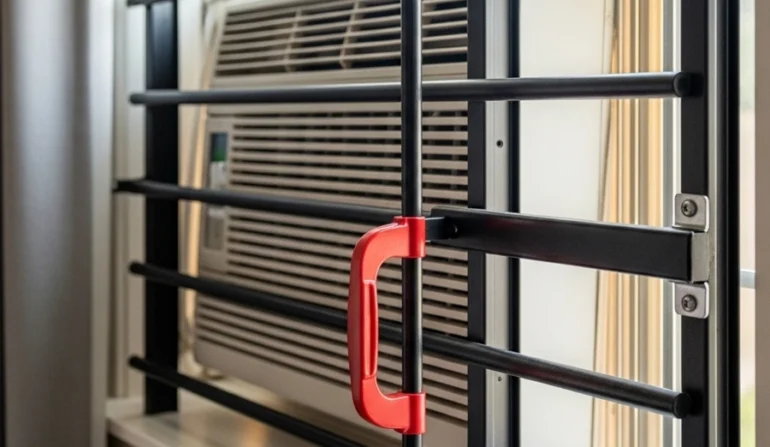
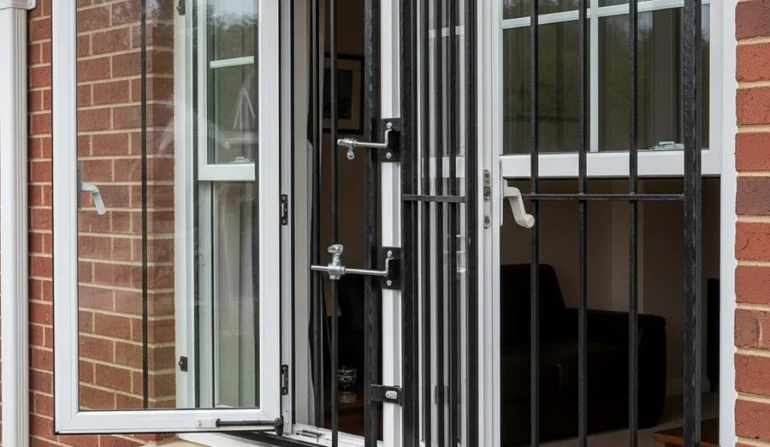
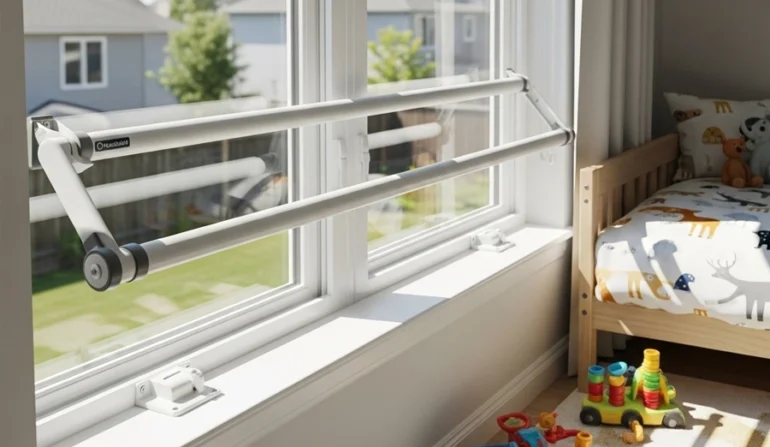
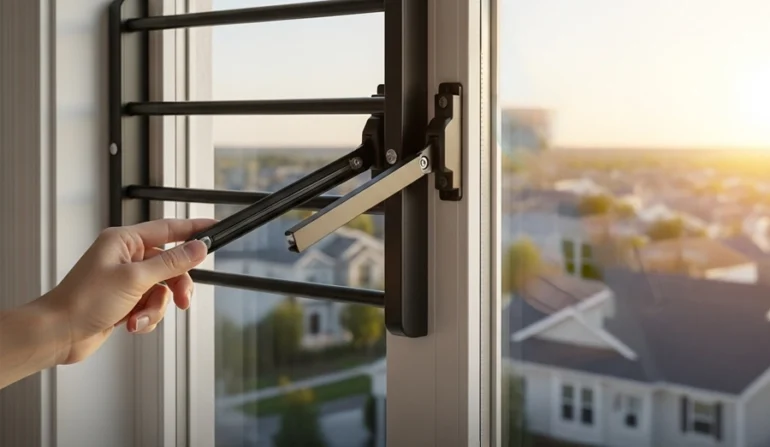
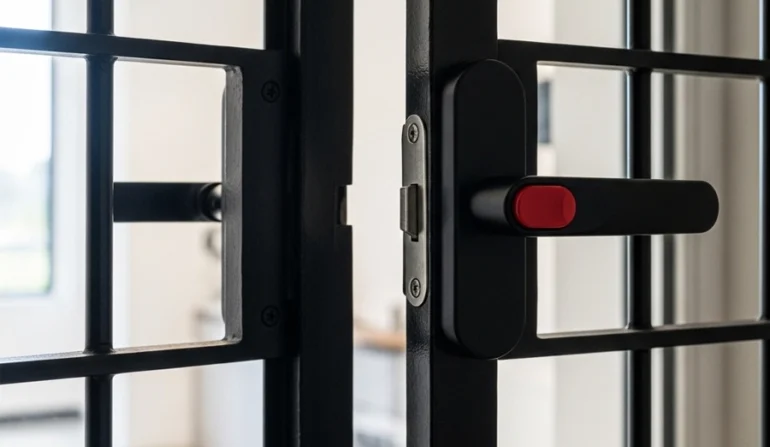
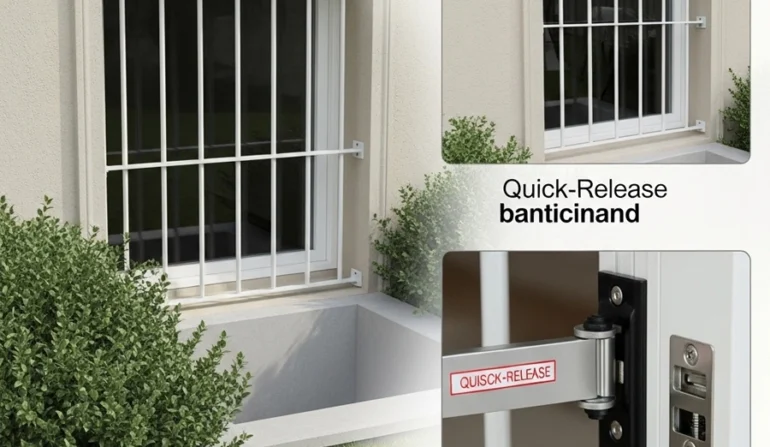
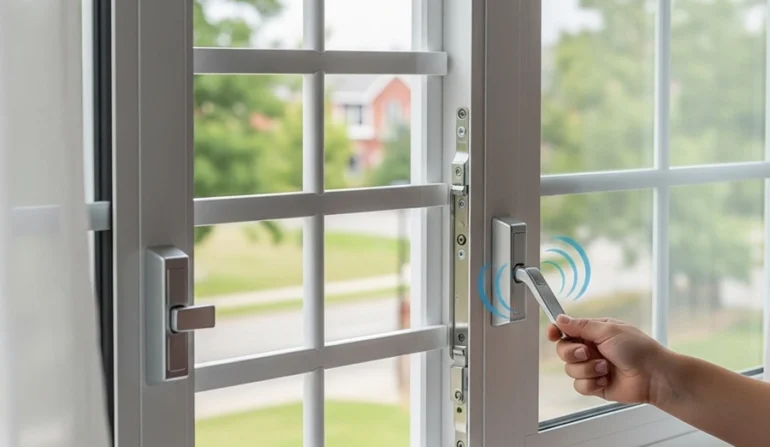
Step 4: Install Quick-Release

Follow the template. The release should operate with one hand, no tools. Cycle it ten times to confirm smooth action. Kids should be able to open it during a practice run.

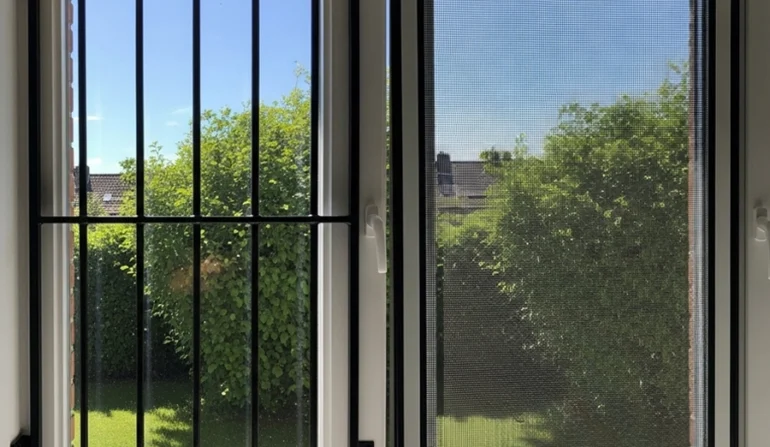
Step 5: Seal and Finish

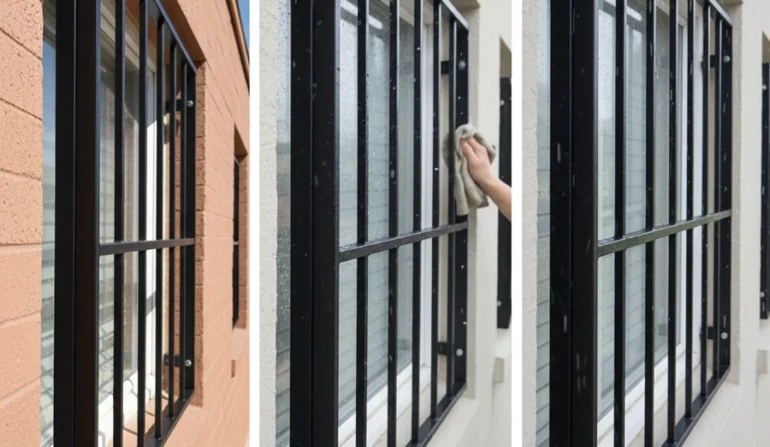
Apply sealant around penetrations and any exterior gaps. Inside, caulk and touch up paint. Reinstall blinds, trimming cords shorter so they can’t tangle with the release.

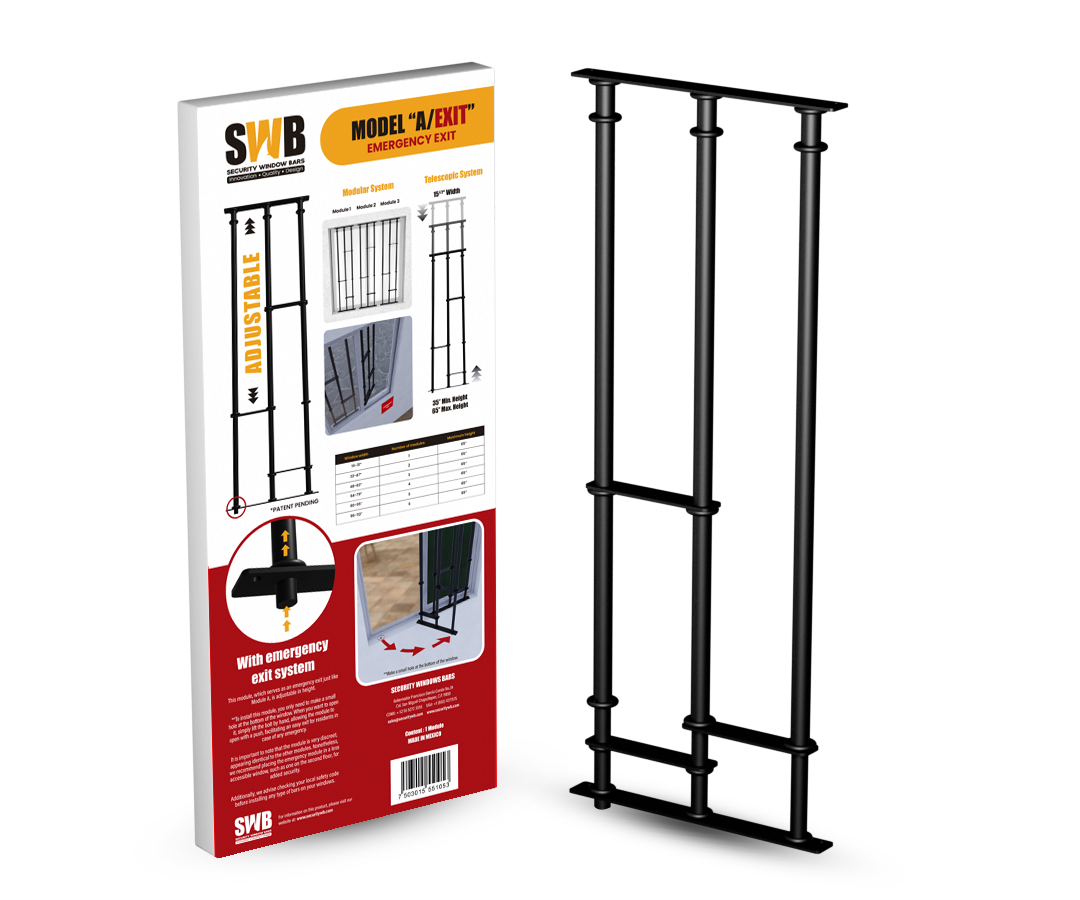
Step 6: Egress Drill

With the whole family, rehearse a nighttime scenario. Lights out. Open the release and climb into the well. Time the drill and correct anything that slows you down.

Testing, Maintenance, and Safety Drills

  • Monthly: open the bars and confirm the latch resets cleanly.
  • Seasonally: lubricate hinges and latch pins with a dry PTFE spray; avoid greasy oils that attract dust.
  • After storms: check for impact, corrosion, or chipped finish—touch up promptly.
  • Annually: inspect anchors for movement; retighten as needed.
  • Always: keep the swing arc clear of plants, storage bins, and well ladders.

Common Mistakes to Avoid

  • Installing fixed bars on basement bedrooms that require egress.
  • Mounting bars without checking window well cover interference.
  • Anchoring into weak mortar joints when brick faces are available.
  • Allowing blinds or shades to foul the release.
  • Skipping sealant, which invites moisture and corrosion.
  • Setting the handle too high for kids to reach.
  • Forgetting to practice: a sticky latch wastes precious seconds.

Buying Checklist

  1. Room use: bedroom, playroom, or storage? Egress required?
  2. Mounting: interior vs exterior; recess vs surface.
  3. Mechanism: quick-release (lever, pull-pin, or lift) for egress rooms.
  4. Hinge & swing: side choice; arc clears the well and cover.
  5. Measurements: smallest width/height; diagonal check; obstructions logged.
  6. Substrate: poured concrete, block, brick, or wood; choose anchors accordingly.
  7. Finish: powder-coated steel (galvanized in damp/coastal zones) or aluminum.
  8. Style: decorative pattern; color match to frames (black/white/custom).
  9. Child ergonomics: handle height and low release force.
  10. Maintenance plan: monthly test; seasonal lube; touch-ups.

FAQs

Do I need quick-release bars for a basement bedroom?


Yes. If a room is used for sleeping, make the window an emergency exit. Choose basement window bars that open from inside and test monthly.

Will bars interfere with my window well cover?


They don’t have to. Measure the swing arc against the well wall and cover. If space is tight, mount the bar inside and choose a release that projects less.

What anchors should I use for cinder block?


Use sleeve or wedge anchors designed for hollow or partially filled block. When possible, target filled cells or solid backing for higher pull-out strength.

Can I install bars on hopper or casement windows?


Absolutely. Hinged frames work well; just set the swing direction so it clears handles and crank hardware, then confirm the egress path.

How do I protect against rust in a damp basement?


Start with powder-coated or galvanized steel, seal penetrations, and touch up chips promptly. Keep the frame clean and dry when possible.

Are interior bars safer than exterior bars for basements?


Interior quick-release bars are easier to reach in an emergency and stay cleaner, which keeps the release smooth. Exterior fixed bars are fine for non-egress utility rooms.

Can I combine bars with security screens?


Yes. Many homeowners use interior quick-release bars on egress windows and screens elsewhere for airflow. Layering protection raises deterrence without sacrificing comfort.

Ready to Secure Your Basement the Smart Way?

Basements deserve special attention. By pairing hinged quick-release frames with the right anchors and careful measuring, you’ll get reliable protection and a clear, code-friendly exit path. Choose a finish built for humidity, coordinate with your well cover, and drill the release with your family. If you’d like help matching hardware to your exact windows, our specialists are happy to walk you through the options.

EMAIL ADDRESS: sales@securitywb.com
SITE: www.securitywb.com
PHONE:
CDMX: +52 (55) 5272 3355  USA: +1 (650) 4371 575

Recent Post

COOKIES POLICY

Security Window Bars LLC ("SWB") uses cookies and similar technologies to improve your browsing experience and enhance the functionality of our website www.securitywb.com (the “Website”). This Cookies Policy explains what cookies are, how we use them, and how you can manage your cookie preferences.

By using our Website, you agree to our use of cookies as described in this policy.

Last Updated: 01/01/25